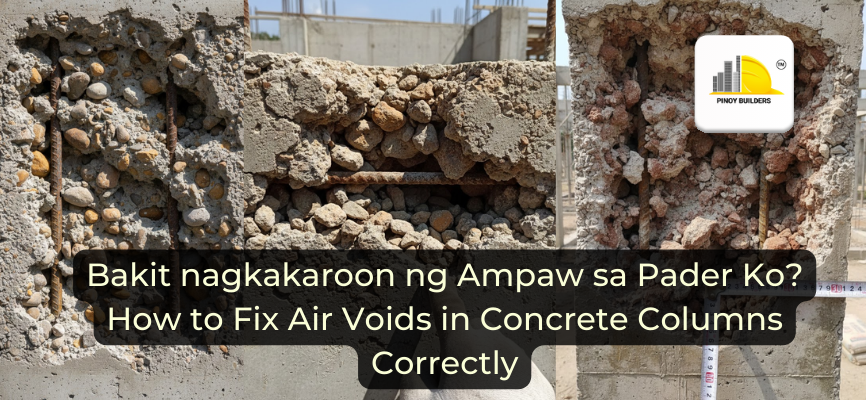
Seeing “ampaw” or honeycombing in your newly poured concrete can be a heart-stopping moment for any homeowner or builder. It’s that uneasy feeling of seeing the “bones” of your house looking more like a digestive cracker than a solid wall.
In this article, we will define what “ampaw” is and why it occurs, assess the risks it poses to your home, and provide a professional, step-by-step guide to repairing these voids using the correct structural materials rather than temporary fixes.
What is “Ampaw” and Why Does It Happen?
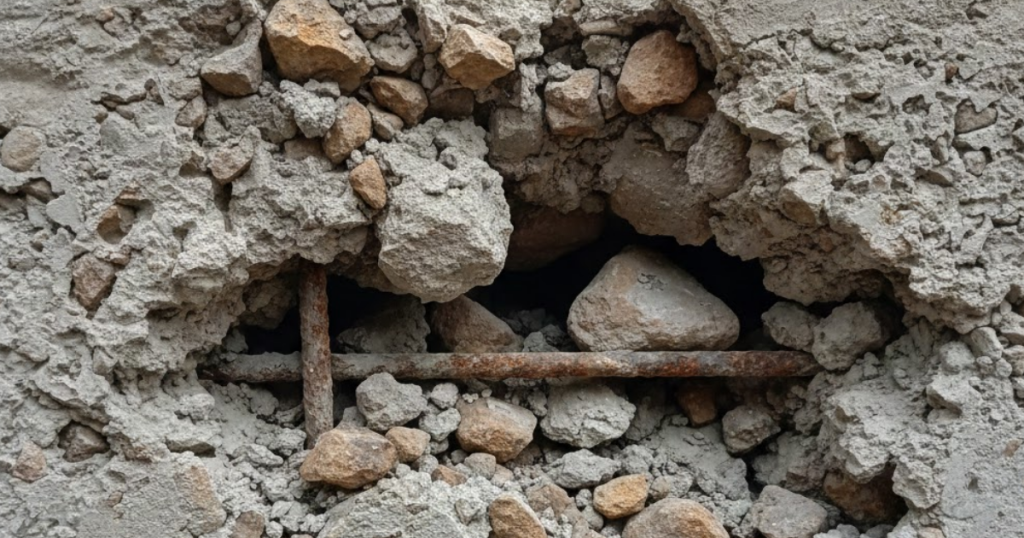
In Philippine construction, Ampaw (the local term for honeycombing) refers to voids or hollow spaces on the surface or inside of concrete. It occurs when the mortar (the mix of cement, sand, and water) fails to fill the spaces between the coarse aggregates (gravel).
Common Causes:
- Improper Vibration: This is the #1 culprit. If a mechanical vibrator isn’t used—or is used incorrectly—the concrete doesn’t “settle” into the tight corners of the formworks.
- Leaking Formworks: If your wooden or steel forms have gaps, the “juice” (cement paste) leaks out, leaving only the rocks behind.
- Congested Rebars: If the steel bars are too close together, the large gravel pieces get stuck at the top, creating a “bridge” that prevents the wet concrete from reaching the bottom.
- Poor Mix Workability: A mix that is too dry (low slump) won’t flow easily around the reinforcement.
Why it’s a problem: Beyond being an eyesore, honeycombs expose your rebars to air and moisture. This leads to rusting (oxidation), which expands the steel and eventually causes the concrete to crack and fail. It significantly reduces the load-bearing capacity of your columns.
Step 1: Assessment – Cosmetic or Structural?
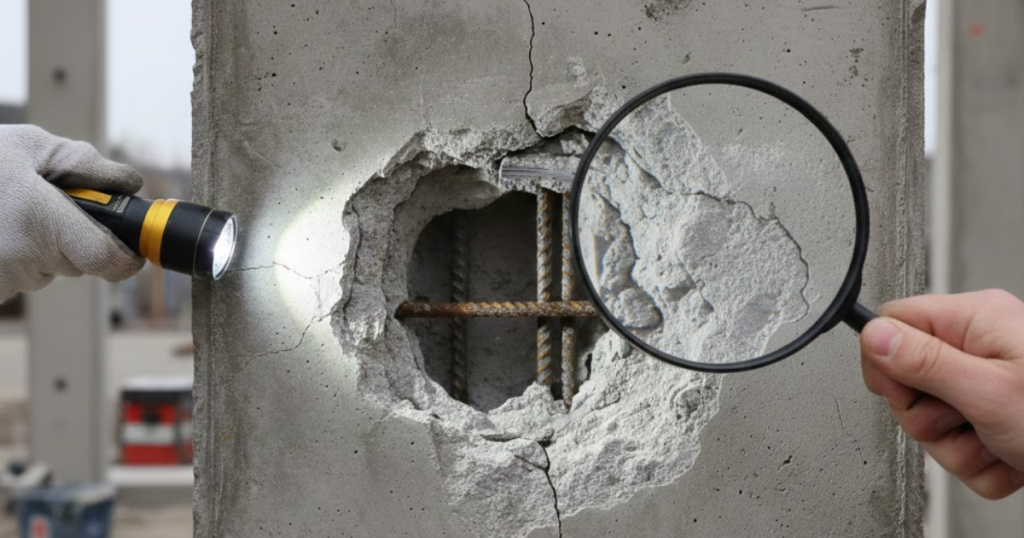
Before you reach for your tools, you must first understand the specific nature of the defect you are facing. Identifying whether a void is a minor surface blemish or a major structural failure is crucial for choosing the right fix. Taking the time to evaluate the damage ensures that your repair efforts are both effective and safe.
| Severity | Description | Action |
| Minor (Cosmetic) | Shallow voids (less than 25mm deep) that don’t expose the rebars. | Simple patch repair. |
| Moderate | Voids that expose the rebars but don’t go through the core. | Structural grout repair. |
| Severe (Structural) | Voids that go deep into the core or through the entire column. | Stop. Consult a Structural Engineer; the column may need a full jacket or replacement. |
Step 2: The Step-by-Step Repair Process
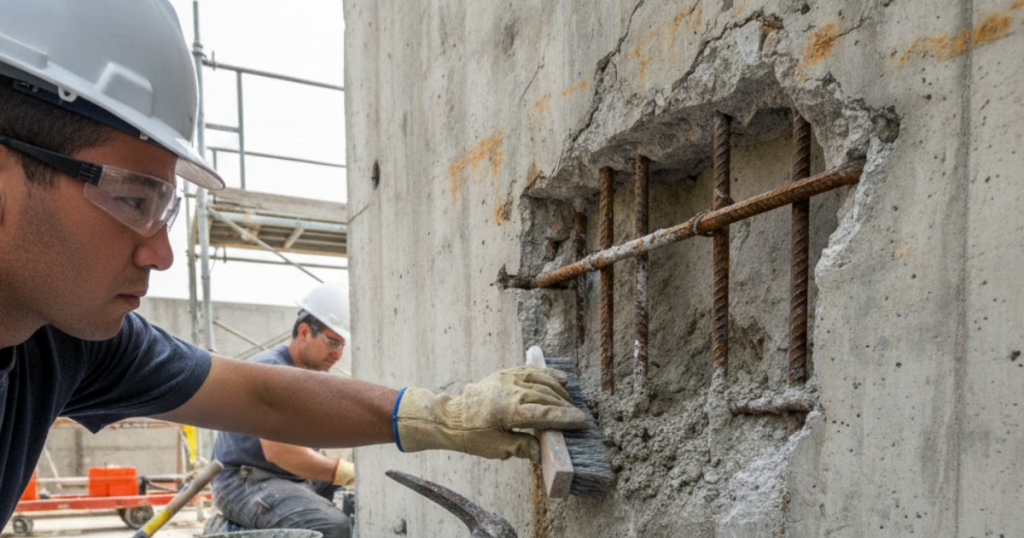
Avoid letting workers simply plaster over a hole, as this hides the problem without fixing it. You must remove all loose rocks and debris to ensure the new material has a solid surface to grip. Without this preparation, the repair will eventually lose its bond and fall off.
- Chipping: Use a hammer and chisel to remove all loose, “bubbly,” or weak concrete. Chip until you reach the solid, hard concrete.
- Cleaning: Use a wire brush to scrub the exposed rebars and the concrete surface. Wash it with water to remove all dust and debris.
- Preparation: Ensure the area is SSD (Saturated Surface Dry). This means the concrete is damp, but there is no standing water.
- Bonding Agent: Apply a structural epoxy bonding agent (like EuroEpoxy or Island 800) to ensure the new material sticks to the old.
- The Fill: * For structural voids, use Non-Shrink Grout (e.g., SikaGrout or Quicseal). Unlike regular cement, this does not shrink as it cures, ensuring a tight seal.
- For very deep voids, you may need to “form and pour” using a specialized flowable micro-concrete.
Prevention: Doing it Right the First Time
The best repair is the one you never have to perform in the first place. You can avoid these costly headaches by taking proactive steps to prevent ampaw during your future concrete pours. Proper preparation and execution ensure a solid finish that lasts a lifetime.
- Use a Mechanical Vibrator: Always have a “vibratuman” on-site. Insert the needle vertically at 6-inch intervals.
- Check Formwork Integrity: Ensure forms are tight and oiled. If water can leak out, cement can leak out.
- The “Tapping” Method: While vibrating, tap the outside of the forms with a rubber mallet to help air bubbles escape to the surface.
- Watch the Slump: Ensure the mix isn’t too stiff for the density of the rebars.
⚠️ WARNING: Do not use a simple “pure cement and sand” (palitada) mix for structural voids. Regular mortar shrinks as it dries, leaving a microscopic gap between the patch and the column. This allows moisture to seep in, continuing the corrosion of your steel.
Foundations for Peace of Mind

At the end of the day, your home is only as strong as its weakest column. While ampaw is a common sight in construction, it should never be ignored or “hidden” under a thin layer of plaster. By using the right materials—like non-shrink grouts and epoxy binders—you ensure that your repair is just as strong, if not stronger, than the original pour.


 Facebook
  Instagram
  Linkedin
  Twitter
  Youtube