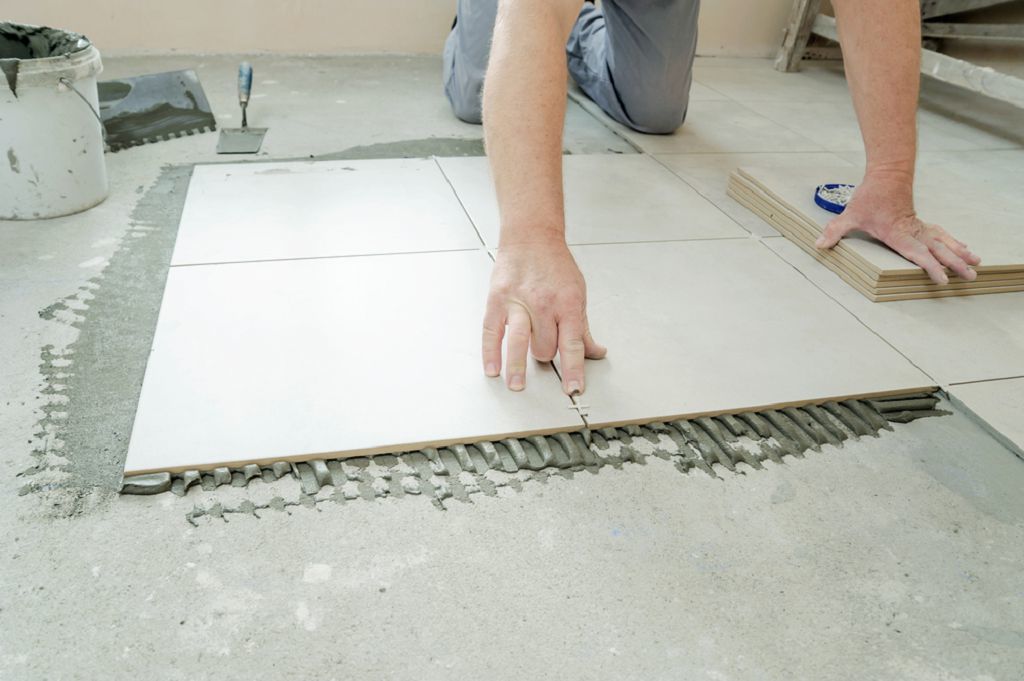
When beginning to work with tiles for your home renovation for the first time, there is a lot to know about laying and placing tiles. From the mix of tile adhesives to how to place your tiles, a lot is considered especially if you want your tiles to have that professional finish. For every tiling project whether for floors or for walls, using Tile Spacers could make the job easier and more effective.
Image from Freepik
Here are all the details you need to know about Tile Spacers and how it can benefit your next tiling project:
What are Tile Spacers?
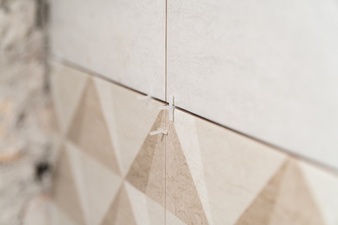
A tile spacer is a tool used to set the space between tiles when being installed. Tile spacers make the result look symmetrical and consistent in pattern, and helps in measuring tiles when being laid out.
Tile spacers come in different shapes and sizes and are usually made with flexible plastic or rubber and are very lightweight. It allows your floors or walls to have straight and even grout spacing. It also helps in protecting the integrity of your tiles.
What size should you use?
When choosing the size of the tile spacer, Personal tastes will determine the size of the tile spacer, but the minimum gap between tiles for wall tiles is 2mm and 3mm for floor tiles. This will ensure adequate grout placement while also allowing for tile movement, which is vital for stress reduction and long-term tile longevity.
Image from Stock Adobe
How do I use Tile Spacers?
First, consider the tile spacer’s size in relation to the overall design of your room.
Second, find the room’s center and draw a line with chalk or a laser for a more precise marking.
This will ensure that the tiles are centered.
When laying the tiles, start at your preferred point (the center), place a spacer on each corner, flush with the first tile, then repeat. Use a T-shaped spacer instead of a tile to place at the end of a wall. If you don’t have a T-shaped spacer, just break one leg of the plus tile space
To remove the tile spacer, use needle/snipe nose pliers or your fingers after the tiles are laid.
The drying time will be determined by the manufacturer’s packaging. Begin grouting after the tiles have dried. Making sure all tiles are tightly bonded and waterproof will help them last longer.
Image from Stock Adobe
How many Tile Spacers do I need?
The number of tile spacers required is equal to four times the number of tiles to be used. However, extra pieces should be purchased in case some are damaged or lost.
Remember to take out the tile spacer before it becomes trapped in the tile adhesive. After applying the adhesive, wait for 20 to 30 minutes before removing the tile spacer.
Tips on using Tile Spacers:
Smaller spacers (minimum 3mm for floors) make smaller spaces appear larger.
If the room is not symmetrical in size, a bigger gap will help to balance the tile placement.
The placement of the project in the room should be planned and checked initially.
Wall tiles should be 2mm between, while floor tiles should be 3mm apart. Any less than that may result in cracks or buckles owing to the stress on the tiles as they shift due to climate conditions.
Begin your tiling project with chalk or a laser level as a guide. This will assist ensure even tile placement.
For your next tile project always remember that having accurate and exact distance between tiles is a must. Good thing that Tile Spacers provides this, and will be able to make the tile installation more efficient and professional looking.
CITATIONS:
The Tile Home Guide, (2021), The Essentials of Tile Spacers, ttps://www.tilehomeguide.com/the-essentials-of-tile-spacers/
Buy Brand Tools (2021), Tile Spacers, What Size to Use, https://www.buybrandtools.com/acatalog/tile_spacers_what_size_to_use.html
Rubi.com (2021, May), Our Top Tips for Using Tile Spacers Effectively, https://www.rubi.com/en/blog/tile-spacers/
![]()


