Painting plywood is comparable to painting any other type of wood in that you must fill all of the gaps and non-uniformities, prime, paint, and seal it.
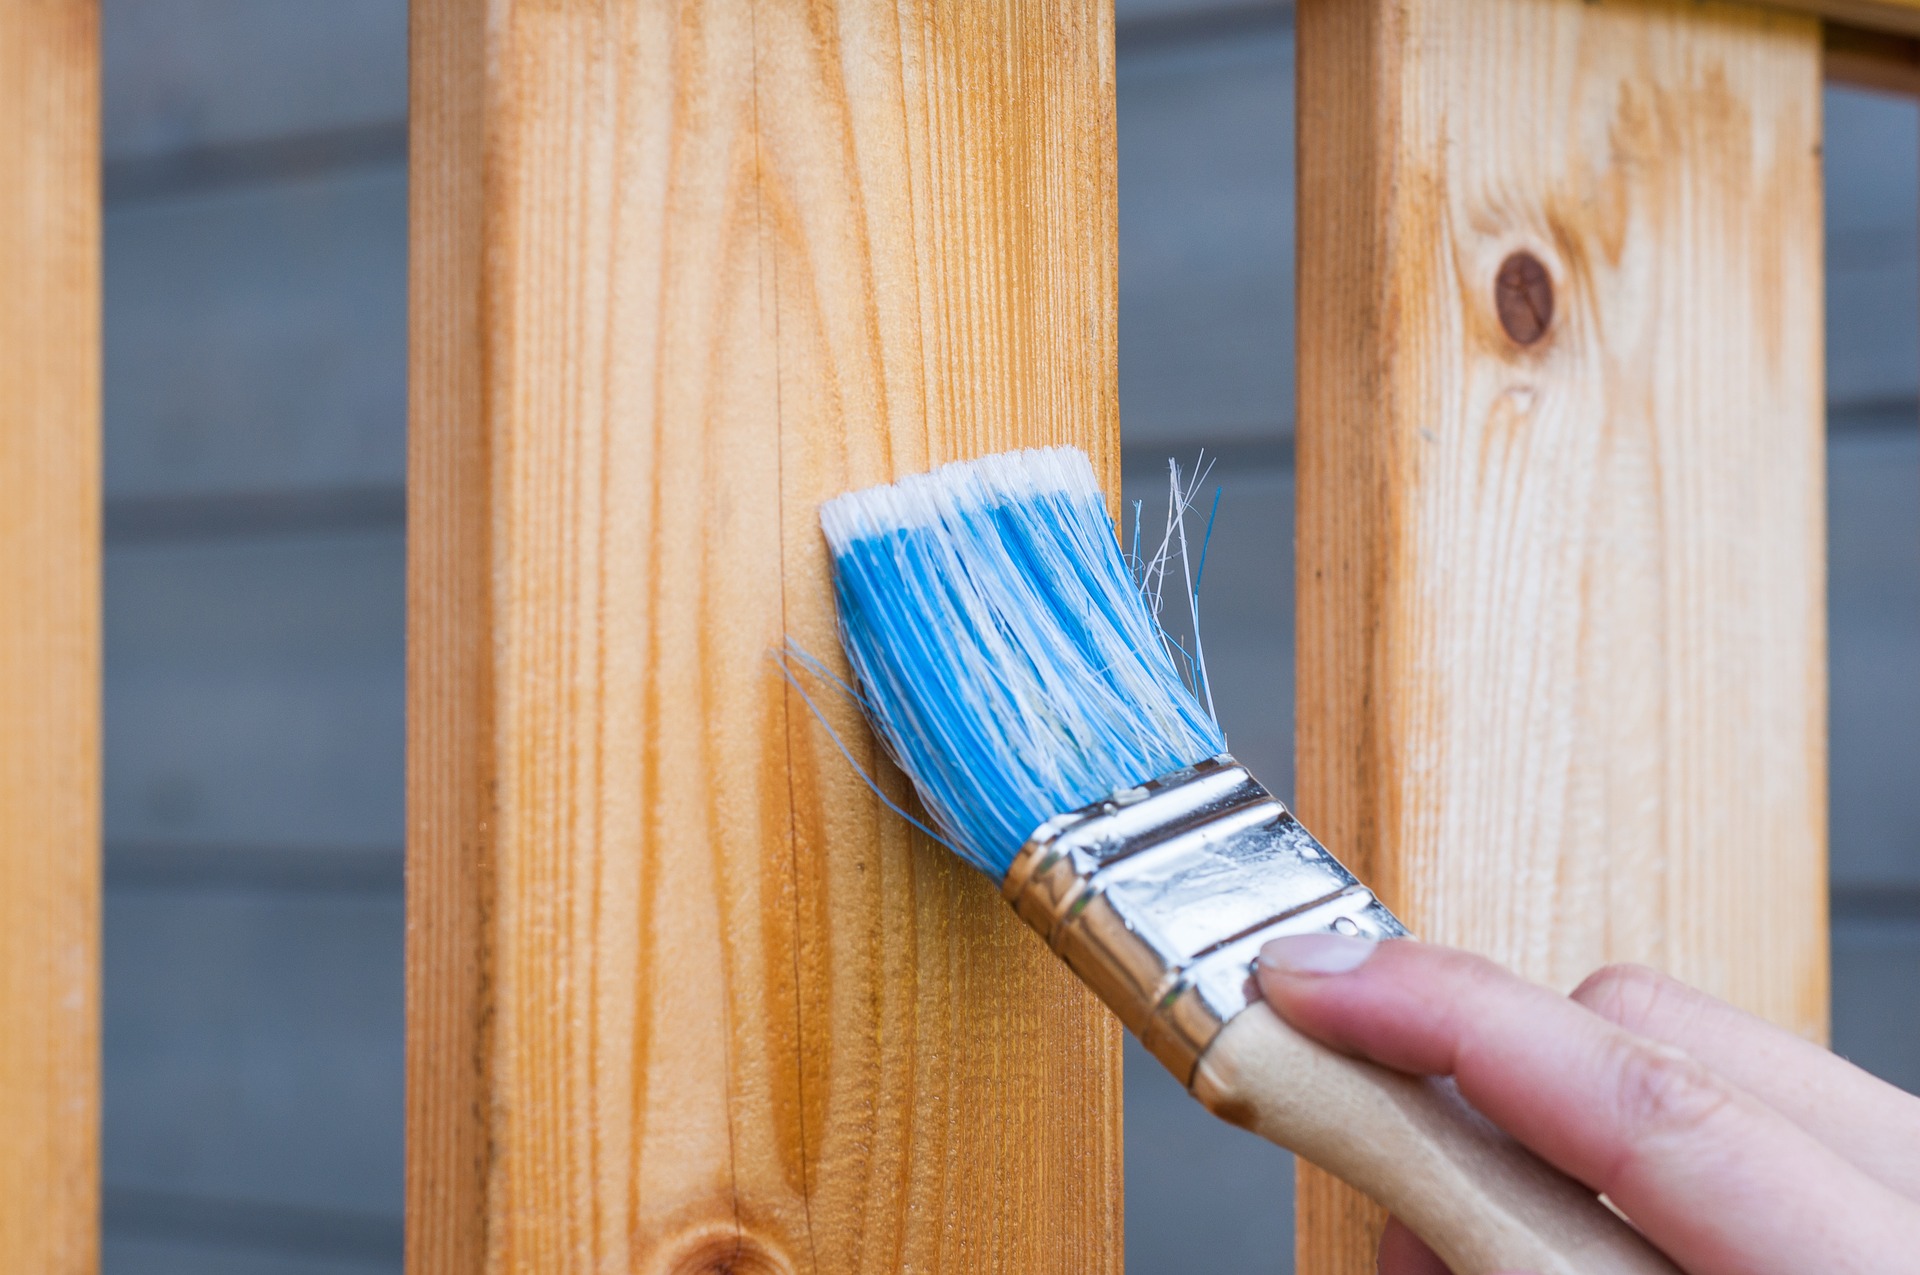
Photo Courtesy: Pixabay
Whether you want to paint plywood to create an original piece of art or you need to paint a plywood floor, with a little know-how, you can do it successfully.
Getting Your Materials Together
Purchase some paint and primer. When purchasing paint and primer, keep in mind how the finished surface will be used. Is the plywood going to be utilized for something artistic? Will it be a painted plywood floor in the end? Choosing paint and primer that is designed for the end-use of your project will extend the product’s life.
Consider buying acrylic primer and colors if you’re painting plywood for art. These are water-based artist’s paints that may be used to create intricate and beautiful pictures on wood.
Choose your plywood
Plywood price in the Philippines varies depending on the Plywood sizes. You can get birch plywood for less than P300. A 3/4 plywood, which is 18″x30″ can be purchased for less than P500. A high-quality 4×8 plywood is available at below P1500.
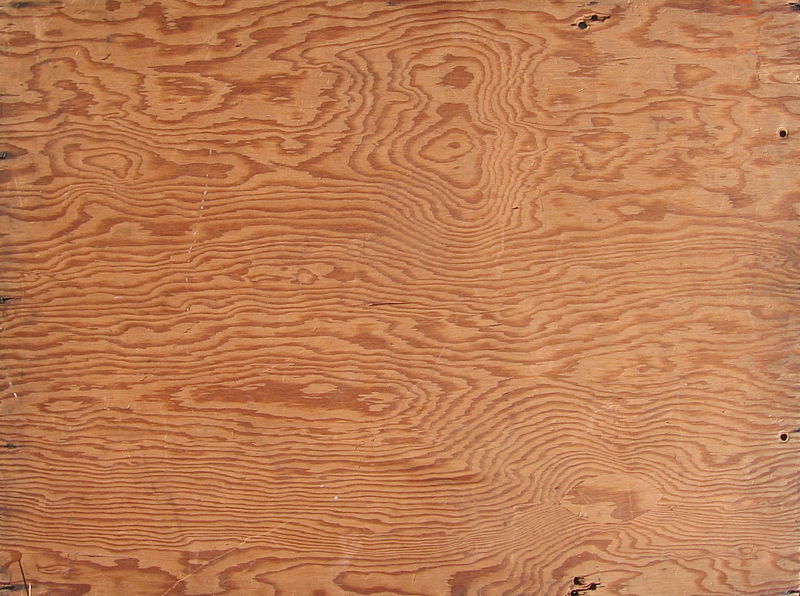
Photo Courtesy: Wikimedia Commons
Plywood may appear to be a simple material, but there are so many varieties that it’s worth doing research to be sure you’re getting the appropriate kind. When comparing different types of plywood, it’s critical to understand the differences in size, ply, and other aspects, as certain types of plywood are better suited to specific applications. The wrong type of plywood might damage your project, so use this advice to choose the best type for your project and save time and money.
It is recommended to use marine plywood. Water-resistant exterior glue is used to varnish marine plywood, which helps it repel water. This plywood can withstand mild wetness, albeit it is not completely waterproof. It is one of the highest quality varieties of plywood available, manufactured of western larch or Douglas fir wood. There must be no knotholes for it to be classified as marine plywood. Marine plywood is perfect for planters and benches, as well as outdoor furniture and ornamental pieces.
Pick a paintbrush or a roller to apply the paint
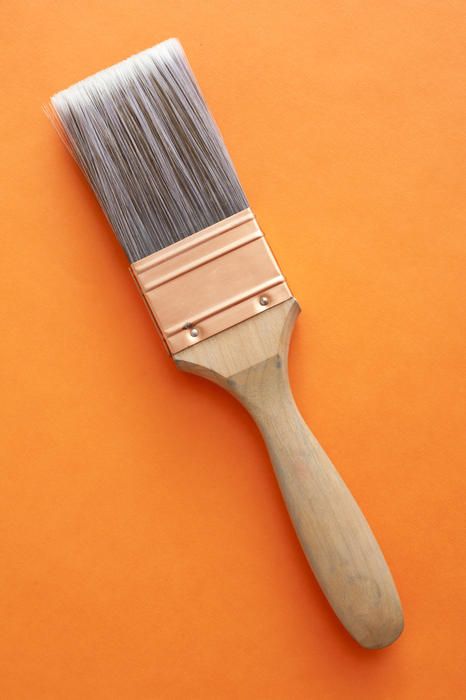
You should buy good brushes or rollers for a good paint job on your plywood, easily available in hardware and home improvement stores. Choose a brush or roller that is designed to paint a flat surface and is compatible with the paint and primer you bought.
Photo Courtesy: Free Images Live
Get sanding
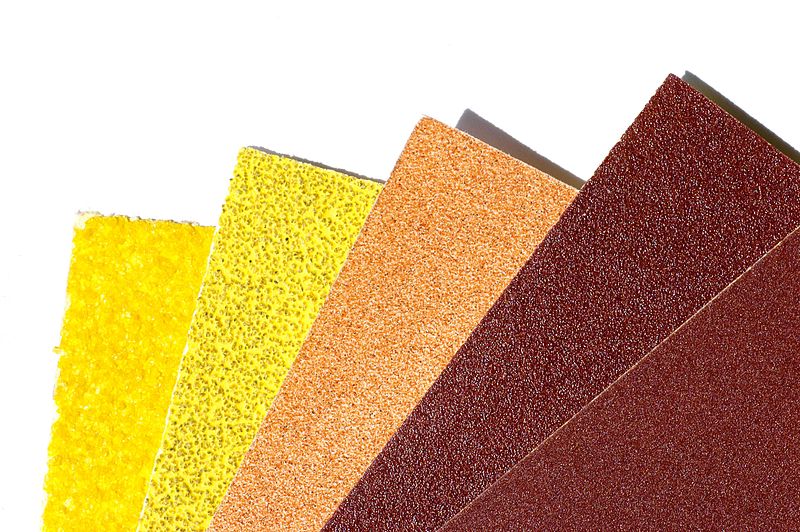
When painting plywood, it’s vital to sand the surface first. This eliminates various defects in the wood and ensures a smooth finished surface. Purchase sandpaper with a fine grain of 220 or 180. If your plywood surface is rough and you want to sand it down smooth, acquire coarser sandpaper, such as 80 or 100 grit.
Photo Courtesy: Wikimedia Commons
All hardware stores and big-box home improvement businesses carry sandpaper.
Using a Brush, Roller, or Sprayer to Prime and Paint
Apply primer to the edges
Use a brush if you’re painting a floor or similar surface that requires detailed work on the edges. A paintbrush, rather than a roller or a sprayer, will provide you greater control and detail.
Painting precise edges with a steady paintbrush is possible, but you may want to tape off the edges to keep your work neat. After you’ve primed, leave the tape in place so you can use it for your finish coats as well.
Along the margins of the plywood, paint a 3–4 inch (7.6–10.2 cm) border. When you come in with your roller or sprayer, you’ll have plenty of space from the edges.
Prime the surface with overlapping, smooth strokes
Priming plywood seals the surface and ensures that the paint adheres well to the plywood. Apply the primer to the entire surface, making sure that all areas are evenly covered.
Use the paintbrush to make a mark
Before applying your general coat of paint, paint the margins of the surface with a brush, just like you did with the primer. Take your time and acquire the detail you want before moving on to the rest of the surface using your brush, roller, or sprayer.
Begin painting with a thin coat of paint
Apply your first coat of paint after the primer has dried fully. Apply a consistent, thin coat of paint to the entire surface, just as you did with the primer.
Sand in between coats
The outcome will be smoother if you lightly sand the painted surface between layers. Once the paint is completely dry, softly sand the surface with a new piece of 180 or 220 fine-grit sandpaper. This will eliminate any flaws that arose throughout the painting process.
CITATIONS:
- “How to Paint Plywood.” Anika’s DIY Life, 18 Aug. 2020, www.anikasdiylife.com/how-to-paint-plywood.
- “How to Paint Plywood.” WikiHow, www.wikihow.com/Paint-Plywood.
- “Types of Plywood (a Buying Guide).” Curtis Lumber & Plywood, 30 Dec. 2019, www.clp-inc.com/types-of-plywood-a-buying-guide. Accessed 28 Sept. 2021.
![]()


