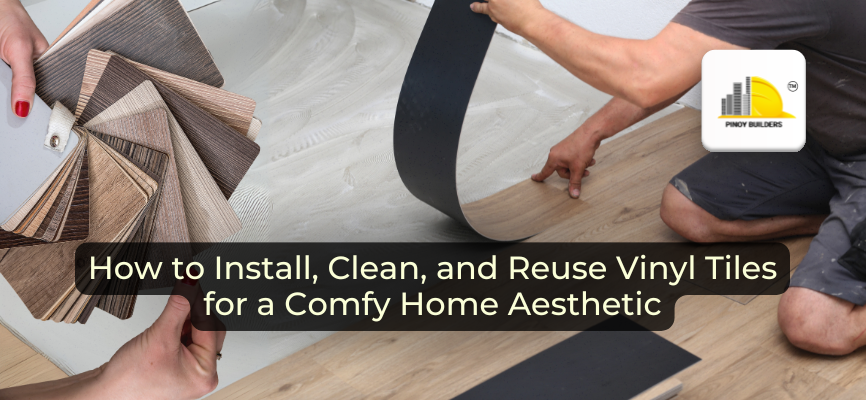
Vinyl tiles have become a favorite choice for many Filipino homeowners looking for a stylish interior design within their budget. Unlike traditional tiles, vinyl flooring offers a variety of designs that can mimic materials such as wood, natural stone, and even porcelain. Aside from its versatility, vinyl tiles are also known for being affordable, easy to install, and simple to maintain, making them a practical option for both new and experienced DIYers.
One common question homeowners ask is whether vinyl tiles can be reused. If you plan to renovate or relocate tiles to another space, knowing how to properly install, clean, and reuse them properly is essential. In this article, we’ll explore some of the best ways to maximize the lifespan of vinyl tiles while keeping your home looking fresh and comfortable.
Why Vinyl Tiles Are a Great Choice for Homes
For many Filipino homeowners, property renovations are not complete without upgrading the flooring. Vinyl tiles are a great choice for those who are looking for an affordable option without sacrificing their aesthetic. Let’s look closer at why vinyl tiles are a great choice for homes:
- Affordability & Style: Wide range of designs mimicking wood, stone, and other materials.
- Ease of Installation: No need for complex tools or professional help.
- Durability & Low Maintenance: Resistant to scratches, stains, and moisture.
- Removability & Reusability: Some vinyl tiles can be repositioned or repurposed.
FloorCenter offers a wide selection of high-quality, sleek, and durable vinyl tiles that can enhance your space with quick installation, such as their Ochre Wood Deck vinyl tile and Brown Wood Strip vinyl tile—both perfect for living rooms, bedrooms, kitchens, dining rooms, offices, cafeterias, and restaurants.
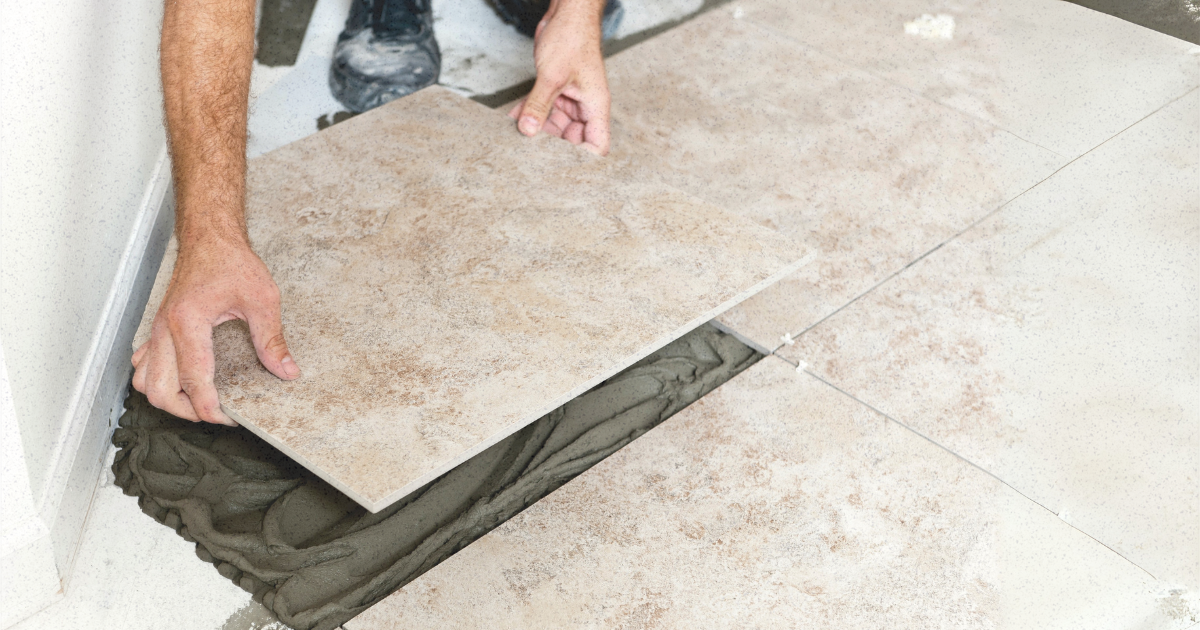
Proper Installation for Long-Lasting Vinyl Tiles
While vinyl tiles are highly durable, proper installation is necessary to ensure they remain intact for longer. They may be simple to apply, but mistakes can still lead to lifting, warping, or gaps. Because of this, proper installation is essential.
Vinyl tile installation can be broken down into two sections. Let’s take a closer look at each one:
1. Surface Preparation
Before installing vinyl tiles, preparing the floor properly ensures a long-lasting and secure bond. Follow these steps for the best results:
- Remove any dust, dirt, grease, or debris. A dirty surface can weaken the adhesive and cause tiles to shift over time.
- Uneven surfaces can lead to bumps or gaps between tiles. If necessary, use a self-leveling compound or sand down high spots.
- Moisture can prevent tiles from sticking properly. If installed in a humid area like a bathroom or kitchen, allow extra time for drying.
- Cracks, loose floorboards, or old adhesive residue can interfere with vinyl tile installation. Repair any damages before laying new tiles.
2. Correct Placement & Adhesion
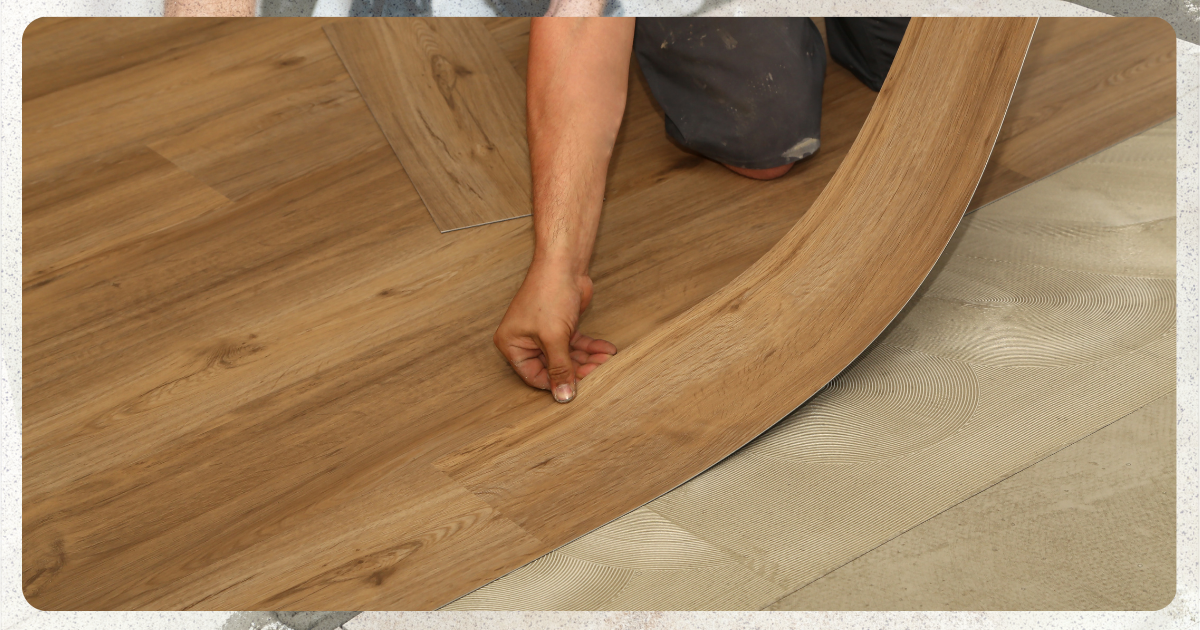
Proper placement is key to preventing misalignment, lifting, or gaps. Use these techniques for a smooth and professional-looking finish:
- Measure and mark the midpoint of the floor to create reference lines. Starting from the center ensures even spacing and a balanced layout.
- Place tiles one row at a time, aligning edges carefully to prevent visible seams. If using peel-and-stick tiles, press them firmly in place.
- A floor roller or a heavy object helps eliminate air pockets and secures tiles more effectively.
- For walls or corners, use a utility knife to cut tiles precisely. Avoid forcing tiles into tight spaces, as this can cause them to lift later.
Avoiding Common Mistakes During Tile Installation
Mistakes during installation can lead to peeling, warping, or poor adhesion. Prevent these issues with the following tips:
- Avoid installing over an unclean or wet surface.
- Prevent air bubbles by pressing down on each tile firmly. You can also use a roller to smooth out any trapped air.
- Give the adhesive time to set. If using glue-down tiles, follow the manufacturer’s recommended drying time before walking on the floor.
- Even a slight misalignment can affect the overall look, so it is advisable to use a straight edge or level to ensure consistent placement.
- Extreme heat or cold can affect tile flexibility and adhesion. Install tiles in a stable environment for the best results.
Cleaning & Maintaining Vinyl Tiles
Regular cleaning helps keep vinyl tiles looking new and extends their lifespan. Proper care also prevents dirt and grime from building up, which can affect their appearance over time.
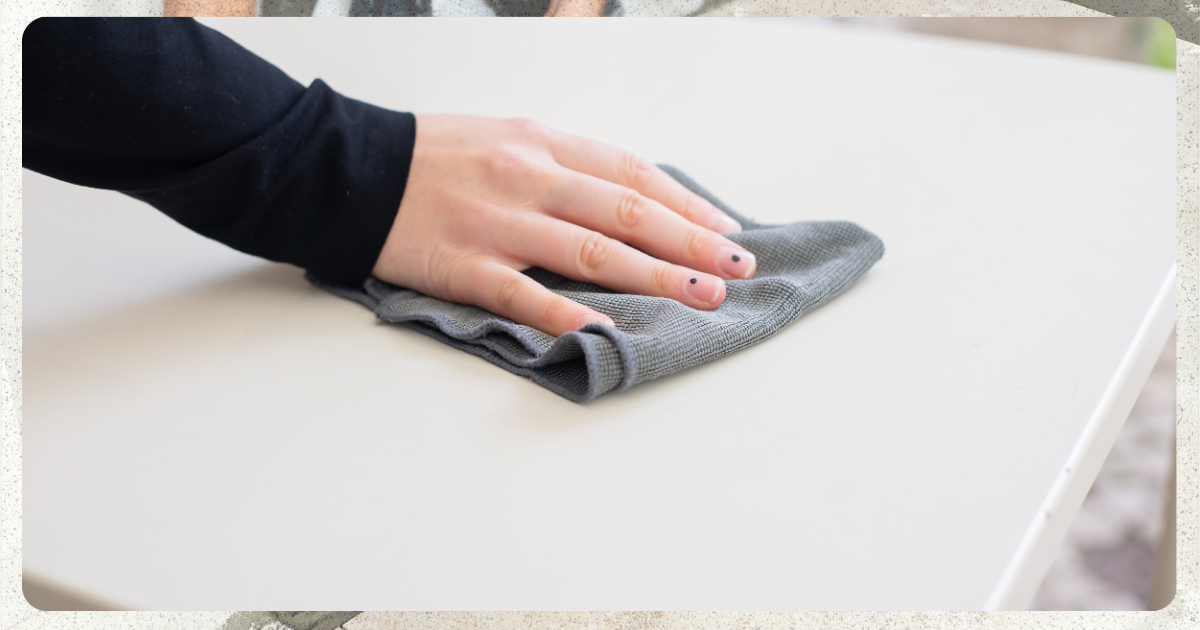
- Sweep or vacuum daily to remove dust and debris that can cause scratches.
- Use a damp mop with mild soap or a vinyl-safe cleaner for a deeper clean.
- Avoid excessive water since too much moisture can weaken the adhesive.
- Skip waxing because vinyl tiles maintain their shine without it.
Matte vinyl tiles are a great option for those who prefer low-maintenance flooring. They do not show stains and dirt as much as glossy tiles and require less upkeep. FloorCenter offers a wide array of matte-finish vinyl tiles—check them out here.
How to Remove and Reuse Vinyl Tiles
Reusing vinyl tiles is possible, but it depends on how they were originally installed. Some installation methods allow for easy removal and reuse, while others make it difficult or even impossible.
Before deciding to reuse vinyl tiles, consider the following:
- Type of installation: There are two common ways to install vinyl tiles—floating (click-lock) or adhesive-backed (glue-down). The installation method will determine whether the tiles can be removed and reused.
- Existing flooring condition: If you’re planning to reinstall vinyl tiles, consider whether you’ll be placing them over another type of flooring. In some cases, vinyl tiles can be laid directly over tile, hardwood, or laminate, making reinstallation easier.
Safe Removal Techniques
Removing vinyl tiles without damaging them requires careful handling. Here’s how to do it properly:
- For floating or click-lock vinyl tiles: These can be lifted easily without damaging the edges. Start from one corner and gently pull up each tile.
- For peel-and-stick or glue-down vinyl tiles: Removal can be tricky since the adhesive may leave residue behind. Use a putty knife or heat gun to loosen the tiles.
- Use warm water for stubborn adhesive: Applying warm water under the tile edges can help soften the glue, making removal smoother.
It’s crucial to understand the installation and removal methods of your vinyl tiles before reusing them. Vinyl tiles installed with adhesive backing or glue are difficult to reuse. The removal process often damages the backing, making reinstallation unlikely. Some homeowners try using warm water and a heat gun to soften the glue, but even with this method, the chances of successful reuse are low.
Make The Most Out Of Your Vinyl Tiles
Vinyl tiles are an excellent choice for homeowners seeking an affordable, stylish, and durable flooring solution. They provide a comfortable and aesthetic space while allowing flexibility for future updates. Whether used in a single room or throughout the house, vinyl tiles are a practical choice for any home.
References:
Home Improvement. “Can sheet vinyl flooring be reused? [closed].” Home Improvement, https://diy.stackexchange.com/questions/192408/can-sheet-vinyl-flooring-be-reused.
“How to Lay a Vinyl Tile Floor.” This Old House, https://www.thisoldhouse.com/flooring/21016447/how-to-lay-a-vinyl-tile-floor.
Vantage + Vinyl. “The Sustainability of Vinyl Flooring.” Vantage + Vinyl, https://vantagevinyl.com/the-sustainability-of-vinyl-flooring/.