
After a few flood-proofing tips, we go deeper into house maintenance tips for the rainy and typhoon season.
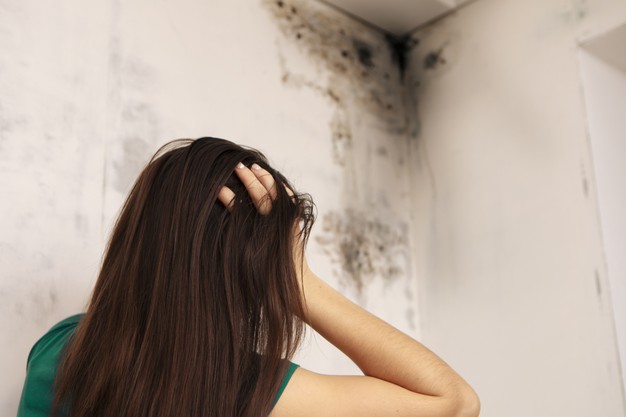
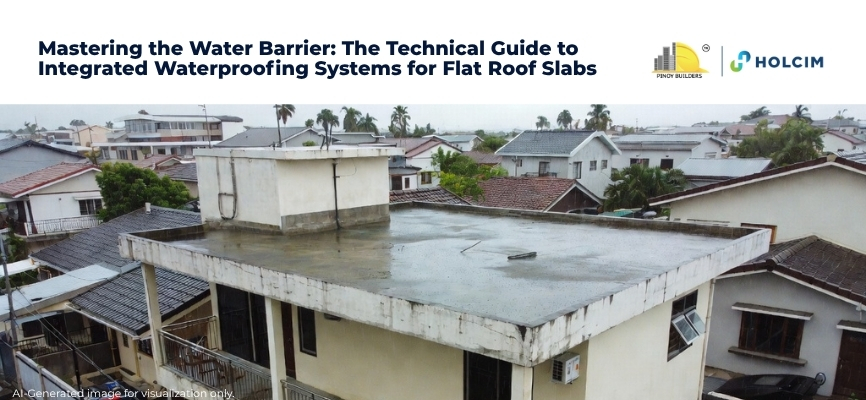
Rooftops are always exposed to elements like sunlight and rainwater. Inevitably, this constant strain greatly affects their functionality. Flat, concrete rooftops are a whole other issue to fix, requiring a different kind of waterproofing.
Why is waterproofing rooftops important?
Simple: it stops any construction project (your home, in this case) from caving in on itself!
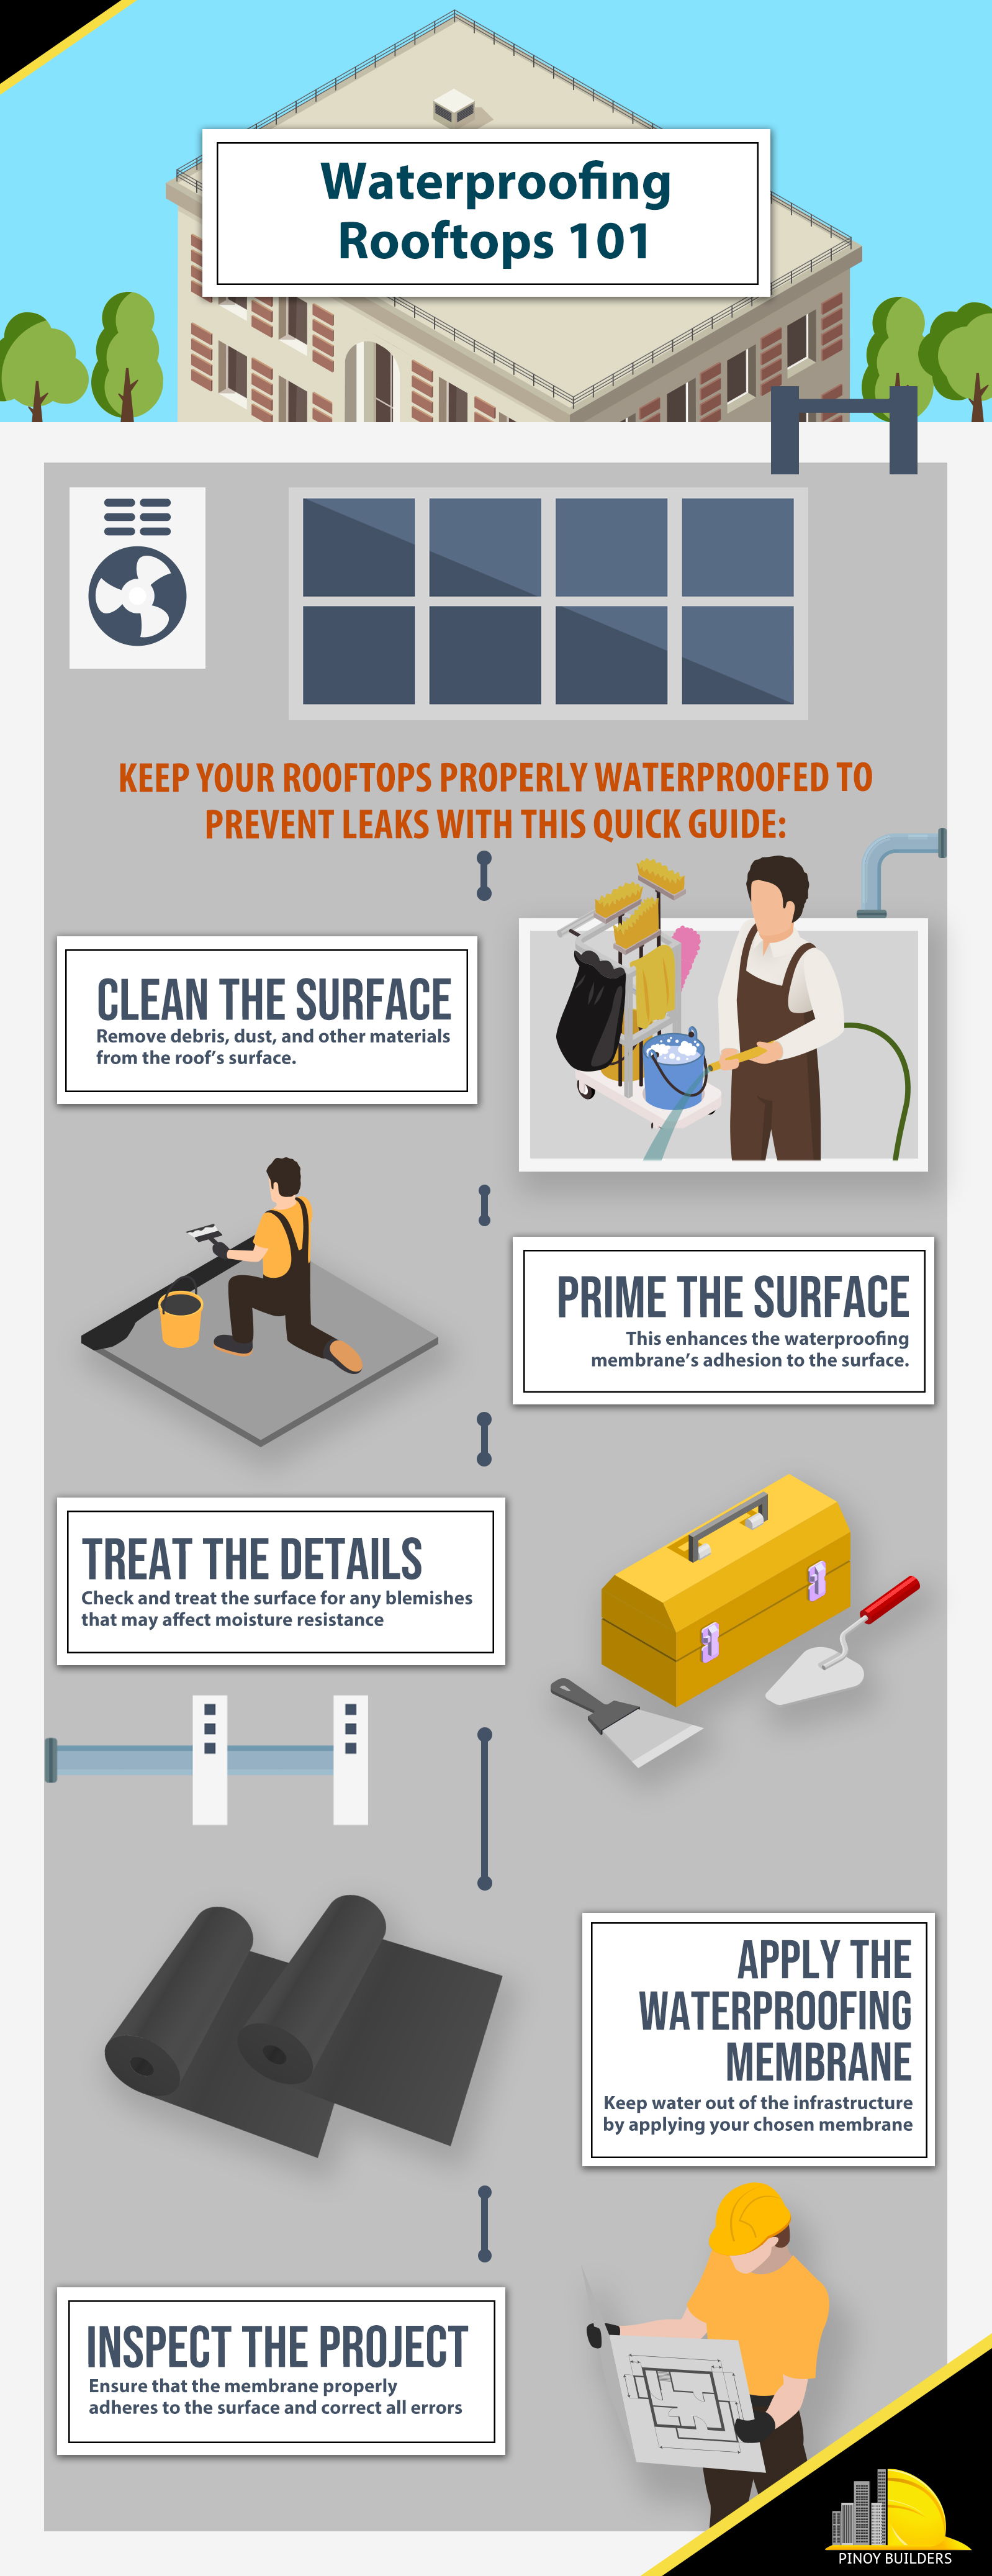
What does waterproofing mean, anyway? This is the process of preventing water and moisture from entering structures through cracks and voids. Read this to learn more about the process. Waterproofing flat, concrete rooftops can be summed up in these 5 simple steps:
STEP 1: Clean the surface
Remove all kinds of debris, dust, and other materials from the roof’s surface. Then, give that rooftop a thorough scrubbing before applying your primer and waterproofing membrane. It both helps your chosen membrane to stick to the surface and exposes blemishes and cracks that need fixing. We recommend using a power washer on a low-pressure setting to get all that dirt off.
STEP 2: Prime the surface
This process spells the difference between doing the job only every few years or so, and spending extra on having to redo the whole job at least once a year. Primers fill the cracks, seal the surface, and provide maximum adhesion for your waterproofing membrane of choice. Make sure to apply this on the surface once it’s been thoroughly cleaned and dried.
STEP 3: Treat the details
The devil really is in the details– especially in the little nooks and crannies hiding in plain sight. Treat all blemishes you spot before applying the waterproofing membrane. Moreover, pre-treat the rooftop’s edges, corners, pipes, vents and drains with flashing-grade sealants designed to seal abnormal roof penetrations that rollers can’t reach.
STEP 4: Apply the waterproofing membrane
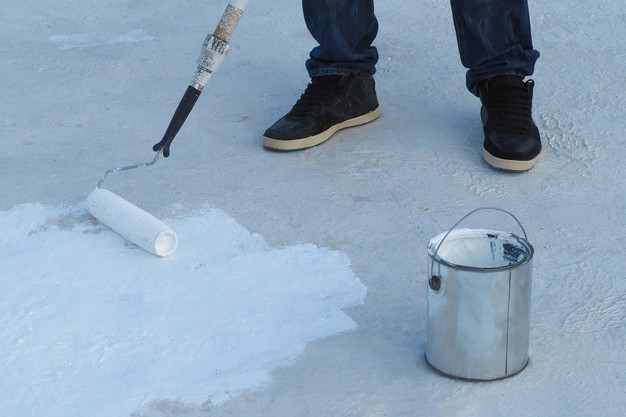
Apply your chosen waterproofing membrane to protect your flat rooftop from moisture.
Applying your membrane of choice keeps water from leaking through the rooftop.
There are many types of waterproofing materials in the market with each serving different purposes. That is why it is also imperative to pick the most suitable waterproofing membrane for your rooftop. Check this to find out the benefits and uses of common types of waterproofing materials such as Polyurethane, Cementitious Coating, EPDM Rubber, Rubberized Asphalt, Thermoplastic, Bituminous Membrane, and PVC Waterproofing Membrane.
Remember to only apply the correct amount of waterproofing material, as stated by the manufacturers’ technical specifications. Most contractors suggest two or more successive layers of membrane applications, with a minimum of 8 hours of drying in-between.
During the application of your chosen waterproofing membrane, make sure that you have followed the: 1) proper curing of waterproofing membrane per layer; 2) consistent thickness of the coating, and 3) uniform application throughout the surface.
STEP 5: Inspect the project
This should be carefully done at each step throughout the whole waterproofing process, making necessary adjustments as needed. When you’re done, marvel at your hard work as you look forward to a good night’s sleep without leaks seeping into your newly waterproofed rooftop.
CITATIONS
-
D’Annunzio, J. (n.d.) Waterproofing of rooftop gardens. Retrieved from https://www.chamberlinltd.com/waterproofing-of-rooftop-gardens/
-
Houck. (2021 Jan 7). What to know about waterproofing your rooftop. Retrieved from https://www.houcks.com/know-waterproofing-rooftop/
-
Hughes, K. (2015 May 12). What Does Waterproofing Mean?. In Performance Painting. Retrieved from https://www.performance-painting.com/blog/what-does-waterproofing-mean
-
Nutech Paint. (n.d.) Choosing the Right Primer for Your Roof. Retrieved from https://nutechpaint.com.au/blog/product-details/choosing-the-right-primer-for-your-roof/
-
Projex. (2017 Jun 19). The Ultimate Guide to Waterproofing Concrete House Roofs. Retrieved from https://www.projex.com.au/blog/guide-waterproofing-concrete-house-roofs/
-
WaterproofingFew. (n.d.) Best Waterproofing Method for Concrete Roofs – Liquid Rubber Membranes. Retrieved from https://www.waterproofingfew.com.au/melbourne-concrete-roof-waterproofing/
-
Winkler. (n.d.) How to waterproof a roof. Retrieved from https://www.winklerchimica.com/us/to-waterproof-roof/
![]()

 Facebook
 Instagram
 Linkedin
 Twitter
 Youtube