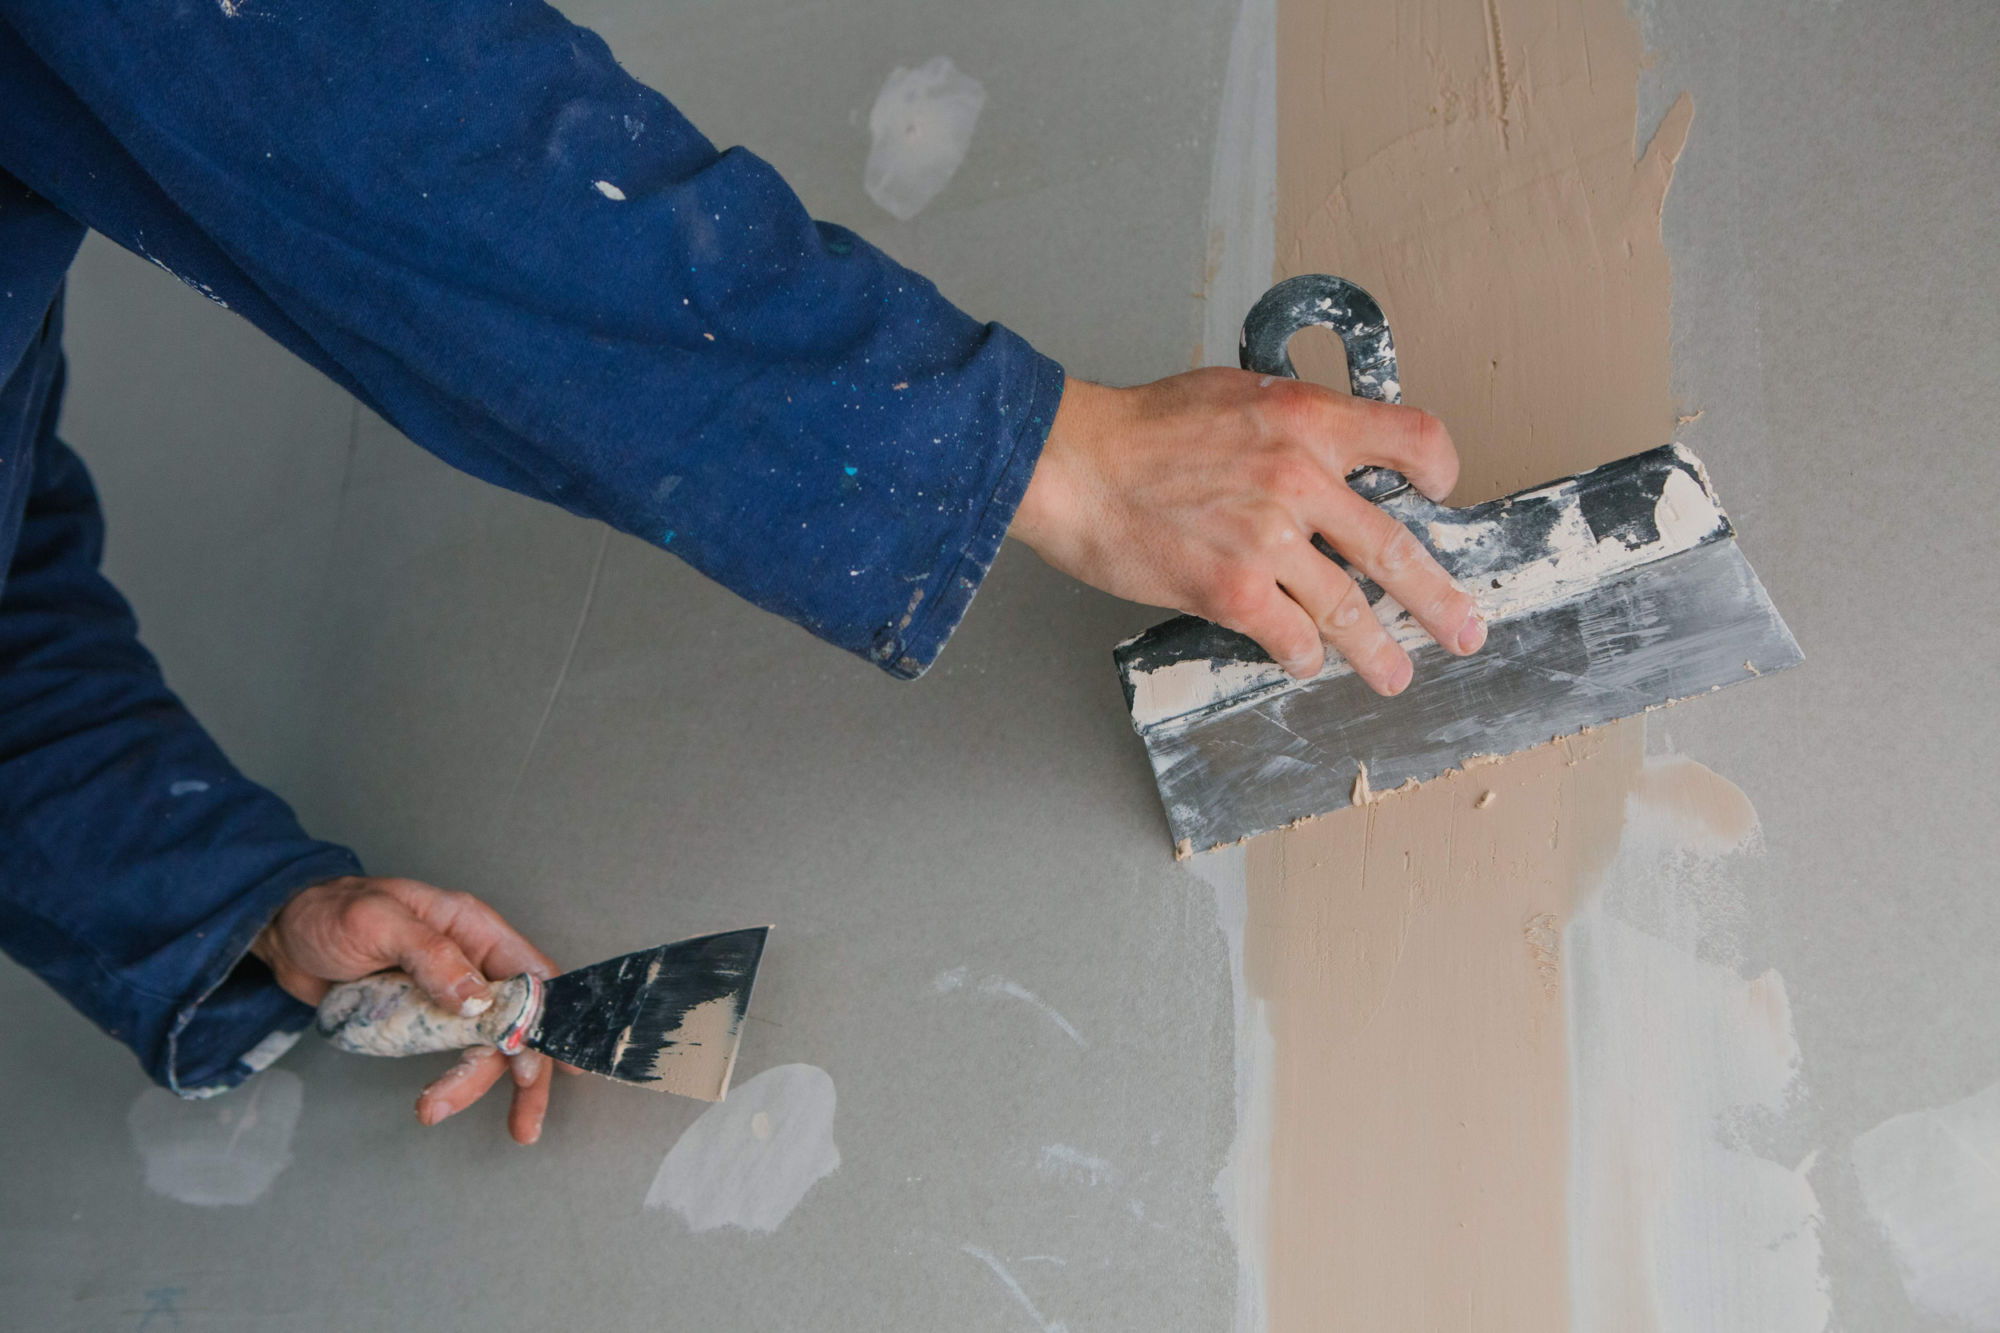
Plastering is a crucial step; whether for your home or for building a strong base for any construction works. It is the process of covering rough and uneven surfaces with plaster to obtain a smooth, clean, and durable finish and base to the wall.

Photo Courtesy: Freepik
It’s a job that we mostly leave to experts as it is a tricky process and requires proper skills, but it takes a while to learn if you’re fond of DIY projects. Don’t get frustrated if you haven’t produced excellent results immediately.
Why is plastering important?
Apart from making your home look good, plastering also offers remarkable benefits in terms of its decorative and aesthetic appeal:
-
Plastering provides an even, smooth, regular, and durable finish surface which consequently improves the appearance of the surface.
-
It covers up the use of porous materials of the masonry work and conceals defective workmanship, creating a durable and robust finish to existing drywall.
-
Since plastering creates an even surface, it works best for the application of paints. Who doesn’t want a solid, refreshing look for our houses?
-
We don’t want cracks on our surfaces. Through plastering, this will less likely to happen.
-
Plastering also produces less dust on its surface.
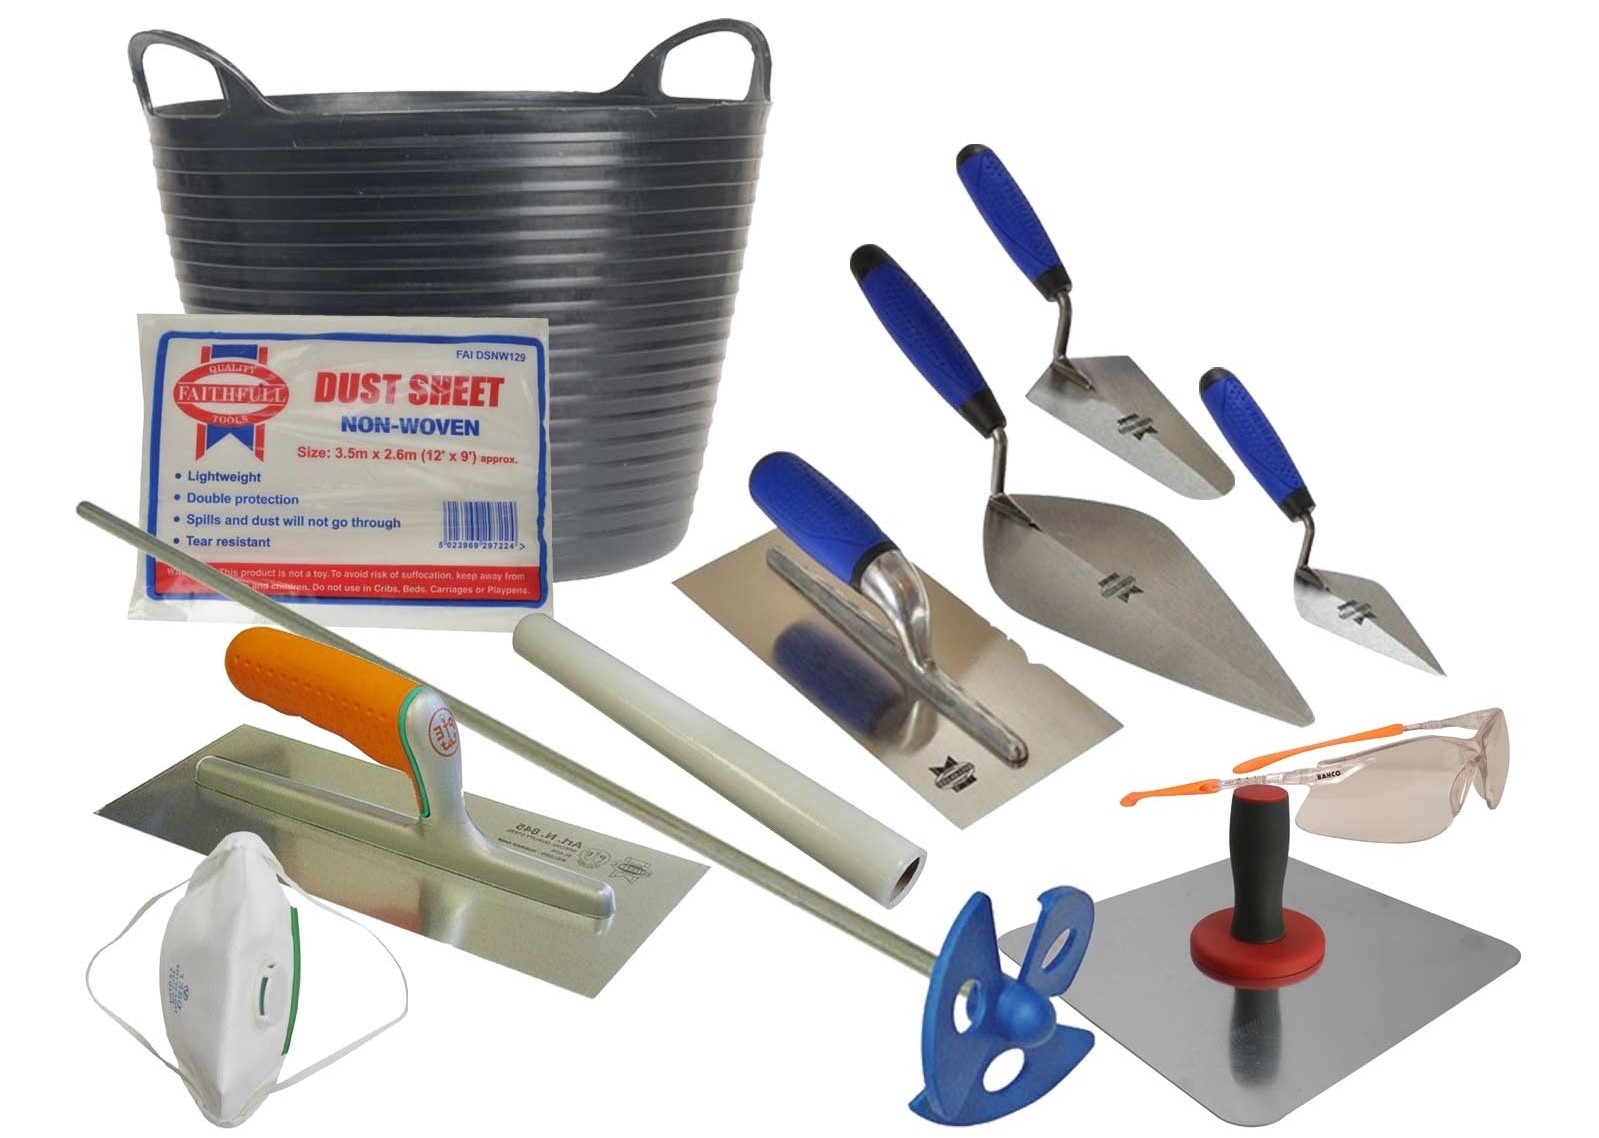
What do you need to start plastering?
By this part, what do you need to start plastering I hear you say? Here’s a quick checklist:
-
Plastering Trowel
-
Bucket Trowel
-
Hawk/ Hand board
-
Mixer (or a strong arm)
-
Water Brush
-
Buckets/ Mixing buckets
-
PVA glue
Let’s do it!
STEP 1: Get the wall ready.
Ensure that the surface for plastering is clear. Remove all dirt, dust, existing paint, or any debris or objects that may get in the way. If possible, wash down the surface and brush off remaining particles.
If there are larger items or furniture that cannot be moved in the way, you may use protective sheets or old blankets to cover them up.
STEP 2: Prime the surfaces.
Surfaces need priming to increase the suction of the surface and help plaster adhere better. For priming, you’ll be needing a PVA glue and water mixture, with a 4:1 ratio, meaning, 4 parts of water to 1 part of PVA glue. Usually, two layers of primer are needed; the first acts as a barrier between the surface and the plaster, and the second layer bonds the plaster to the surface.
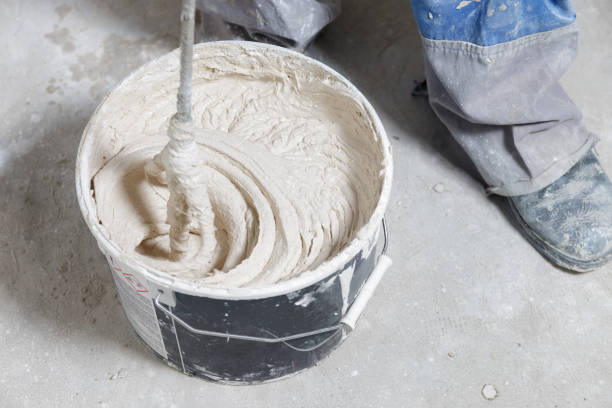
STEP 3: Mix your plaster.
In mixing your plaster, avoid having lumpy bits at the bottom of your mixing bucket by adding the powder in stages to the water. You must also follow the manufacturer’s instructions in preparing the mixture to obtain the desired texture and consistency.
STEP 4: Now, onto the plastering!
It’s time for the most laborious part of the job, the actual application of the plaster. This job requires a fair amount of patience. Experts advise applying the plaster starting at the top of the surface and work your way down. If you are right-handed, it would be more accessible for you to start plastering from the top left of your wall, and vice versa if you’re left-handed.
To start, wet your trowel and hawk with clean water. Get a little amount of plaster on your hawk and smear it around your trowel to avoid plaster falling on the floor once you start. Then, get a dollop of plaster with your bucket trowel and put it into the middle of your hawk.
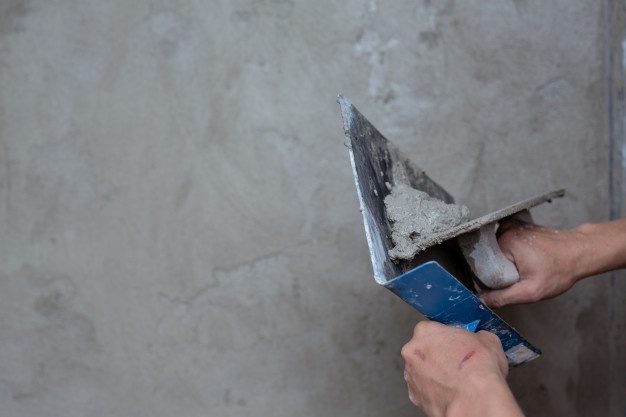
Photo Courtesy: Freepik
Your position should be, hawk in your left hand and trowel in your right hand; opposite goes for the left-handed. Tilt your hawk slightly inwards and push your trowel into the top of the plaster at the halfway point and push through and out the back. As you push through, increase the tilt inwards so as not to push it straight onto the floor.
Then, apply the plaster with your trowel at about 15° – 20° to the wall and steadily glide across the wall. Go until it’s almost flat and make sure to apply even pressure throughout. Do not get frustrated if this stage doesn’t look so perfect, it will come later. Continue this process until you’ve completely covered the wall.
STEP 5: Time for the second coat.
Once the first coat has become tacky, it’s time for the second coat application. Mix your second coat as you did the first, but should not need as much as the first coat as the first is your base coat. The second coat should go on much smoother and fills in all the voids and imperfections. So, fill any holes and smooth things over.
You may also be using clean water to smooth the flat plaster. Wet a brush and apply along the wall and trowel across with even pressure. Trowel it out if the water runs down. Make sure to fill in the small imperfections.
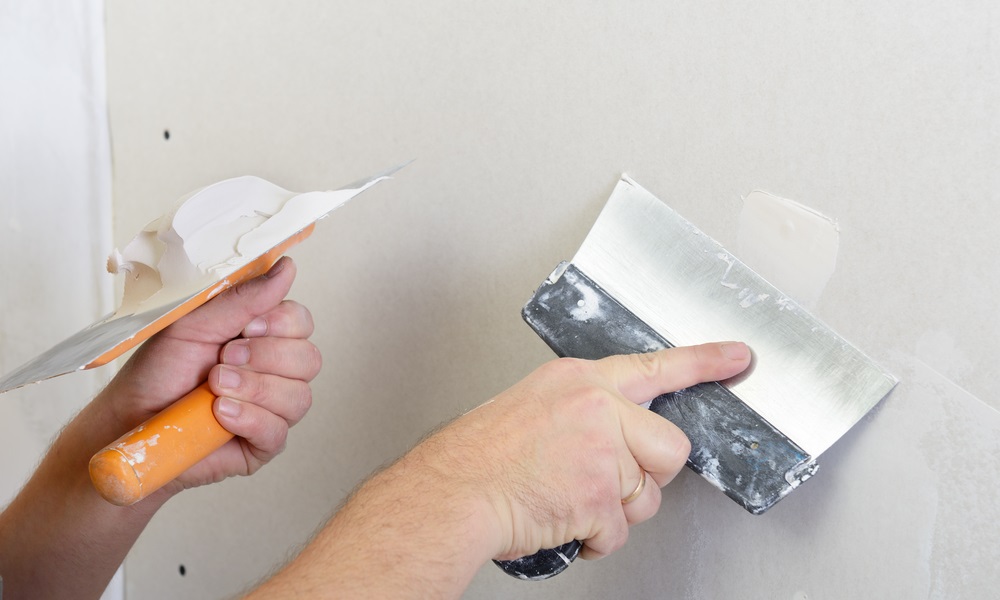
Photo Courtesy: R&B Plastering LTD
STEP 6: Do the final troweling.
Give the wall another troweling for the final touch. Grab a damp rag to clean the trowel, then trowel out your wall once again but don’t overdo it. There should be nothing coming off the wall now at this stage.
STEP 7: Paint and decorate!
Once the wall is fully dry, you may use sandpaper to smooth your wall and remove any irregularities. Clean away any remaining residue, and voilà! We can now start painting or decorating the wall!
Plastering is not just an option, it is essential, to creating and building stunning homes that are resilient and durable.
CITATIONS:
- WALL PLASTERING FOR BEGINNERS: SIMPLE 11-STEP GUIDE. (2021, April 26). The Handy Mano. https://blog.manomano.co.uk/wall-plastering-for-beginners-simple-11-step-guide/
-
How to Plaster Your Walls in 10 Easy Steps. (2019, August 11). DecorTips. https://decortips.com/homes/plaster-your-walls-in-10-easy-steps/
-
The advantages of plastering. (n.d.). R&B Plastering LTD. Retrieved September 8, 2021, from https://plasterersincoventry.com/the-advantages-of-plastering/
![]()


 Facebook
 Instagram
 Linkedin
 Twitter
 Youtube