
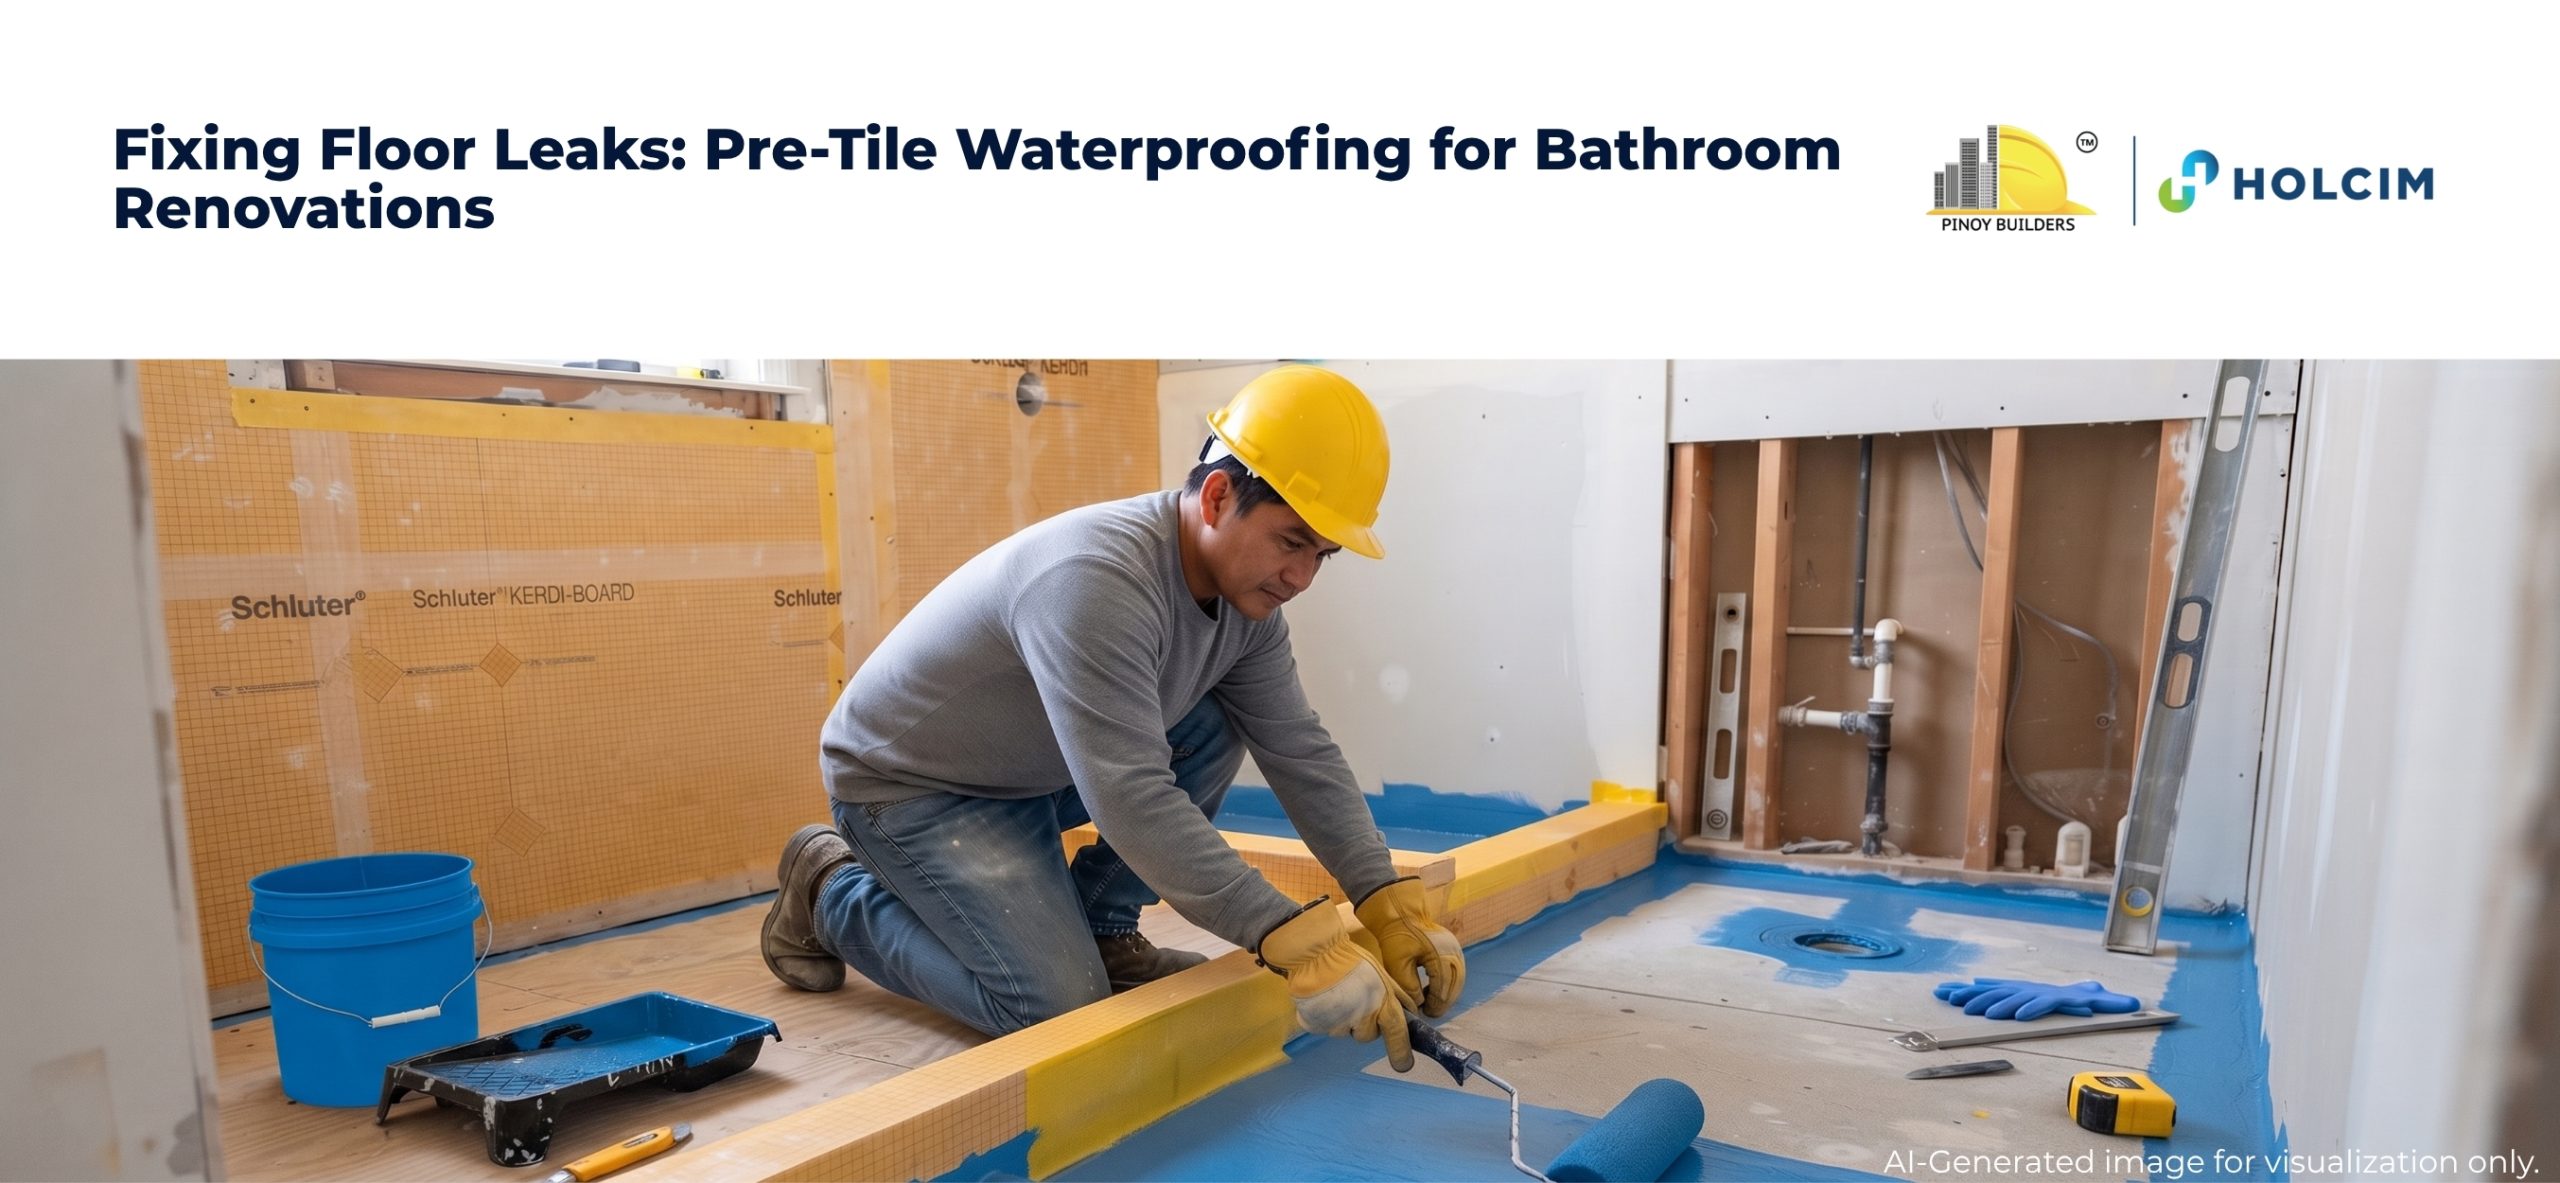
A bathroom floor can look perfectly finished while water is quietly making its way underneath. Cracks, poorly sealed penetrations, and gaps at floor-to-wall transitions can allow moisture to reach the concrete and eventually damage the ceiling below. For DIY builders, learning how to waterproof the floor before tiling is one of the most practical ways to prevent a small renovation issue from becoming an expensive repair.
Key Takeaways
- Proper waterproofing starts with a clean, sound, and repaired concrete surface.
- Cracks, joints, corners, drains, and pipe penetrations require particular attention.
- Cementitious coatings, liquid-applied membranes, and sheet membranes are different systems and should not be treated as interchangeable.
- Waterproofing needs adequate curing time and, where required, testing before tiles are installed.
- A persistent leak may originate from plumbing, structural movement, or another building component rather than the waterproofing itself.
Preparing the Floor for Waterproofing
The first step in preparing the floor for tiling is making sure the concrete underneath is ready to receive the waterproofing system.
Remove dust, dirt, loose mortar, oil, paint, and other contaminants from the concrete surface before applying waterproofing. Any cracks, holes, or joints should also be properly repaired and sealed first. Holcim Philippines recommends completing concrete repairs and ensuring surfaces are clean and free from contaminants before applying waterproofing, particularly for areas such as roof decks, bathrooms, and other parts of the home exposed to moisture (Holcim Philippines, 2015).
For a DIY renovation, this means more than simply sweeping the bathroom floor. Once cleaned, inspect the slab for powdery or loose areas, cracks, holes, honeycombing, and other deterioration. Weak or damaged concrete should be repaired before the waterproofing is applied.
This distinction is important: waterproofing is not a substitute for concrete repair. A membrane or cementitious coating still depends on the substrate beneath it.
Holcim Philippines similarly recommends completing concrete repairs and cleaning the surface before applying its cement-based waterproofing system (Holcim Philippines, 2015).
Sealing Vulnerable Areas
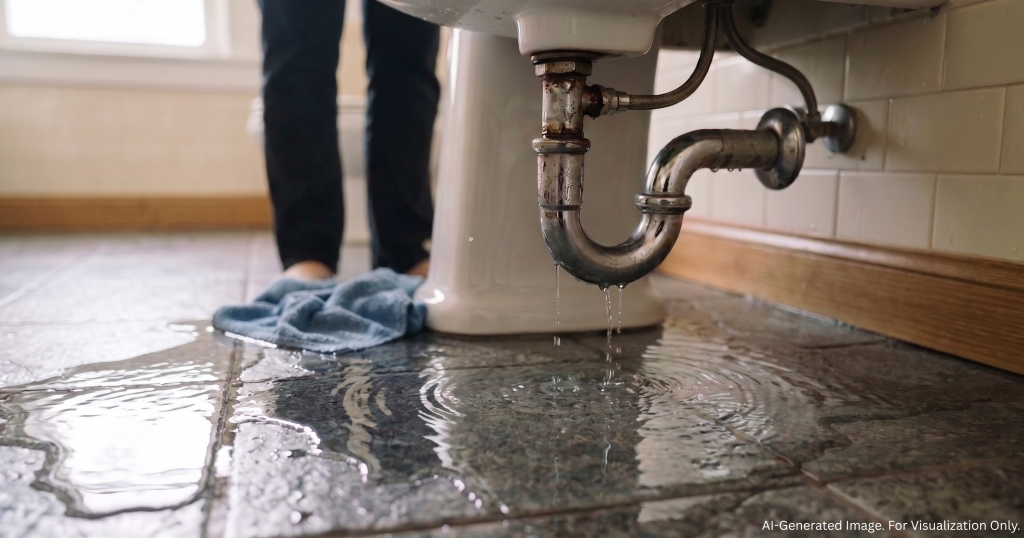
Water does not necessarily enter through the middle of an intact slab. It tends to exploit weak points such as cracks, joints, corners, drains, and plumbing penetrations.
Existing cracks, holes, and joints should therefore be treated before the main waterproofing layer is installed. Holcim’s published procedure for its cementitious waterproofing system calls for these defects to be sealed before waterproofing application (Holcim Philippines, 2015).
Floor drains and pipe penetrations deserve particular attention because they interrupt the continuous concrete surface. Floor-to-wall junctions and corners should also be properly detailed. Depending on the waterproofing system, these locations may require waterproofing tape, reinforcing fabric, corner treatments, or other compatible accessories.
A compatible sanitary-grade silicone sealant may be appropriate for certain small, non-structural gaps around fixtures. However, silicone should not be treated as the waterproofing system itself.
If a crack repeatedly reopens, is unusually wide, or appears to be associated with movement in the slab, simply covering it with silicone or another waterproofing product may only conceal the underlying problem. Significant or recurring cracks should be assessed before proceeding.
Choosing the Right Waterproofing System
Not every waterproofing solution is designed for the same application. The right system should match the area being protected, the type of moisture exposure, and the condition of the structure.
For residential projects, waterproofing may be needed in areas such as roof decks, bathrooms, and other surfaces regularly exposed to moisture. Holcim Philippines notes that its concrete waterproofing solution is designed for various areas of the home, including roof decks and bathrooms, highlighting the importance of selecting a waterproofing approach suited to the specific part of the house being protected (Holcim Philippines, 2015).
Before choosing a product, consider where water is likely to enter, how frequently the surface is exposed to moisture, and whether the substrate requires repairs or preparation. Choosing based on the specific application—not simply the word “waterproofing” on the label—can help provide more appropriate and durable protection for the home.
A cementitious waterproofing system uses a cement-based coating applied over prepared concrete or masonry. Holcim Philippines, for example, identifies cement-based waterproofing as suitable for applications including bathrooms and floors (Holcim Philippines, 2015).
A liquid-applied waterproofing membrane is installed as a liquid and cures into a continuous membrane. Its performance depends on proper coverage, application thickness, reinforcement where required, and curing.
A sheet waterproofing membrane, meanwhile, is a preformed sheet installed over the substrate. Its seams, corners, penetrations, and transitions need careful treatment to maintain continuity.
These systems are not automatically interchangeable. The appropriate choice depends on the substrate, water exposure, tile installation method, project requirements, and manufacturer’s instructions.
The same caution applies to rubberized waterproofing paint and products marketed as waterproof tile paint. A coating intended for an exposed surface is not necessarily designed to remain beneath tiles or bond with a tile adhesive. In a bathroom renovation, waterproofing should be treated as one part of the complete floor assembly. The system needs to be compatible with the existing substrate, the waterproofing layer, tile adhesive, grout, and final tile finish. For example, if an existing concrete floor has cracks, uneven areas, or damaged surfaces, these conditions may need to be repaired and properly prepared before waterproofing is applied. The waterproofing system must also be suitable for the expected level of moisture exposure and installed according to its specified application method. Using a system specifically intended for the application, and confirming that it is compatible with the complete floor assembly, can help reduce the risk of adhesion problems, cracking, and moisture intrusion over time.
Applying the Waterproofing Layer
Once the substrate is properly prepared, apply the waterproofing according to the product’s instructions.
For cementitious waterproofing, Holcim Philippines recommends dampening the concrete first and mixing the material with the correct amount of water. Apply it in controlled coats, allowing the first coat to harden before applying the second in the opposite direction. The published procedure specifies a coating thickness of about 1–2 millimeters and approximately six hours between coats (Holcim Philippines, 2015).
These figures should not be treated as universal instructions for every cementitious waterproofing product. The technical data sheet of the product being used should always take priority.
The same principle applies to a liquid-applied waterproofing membrane. Do not judge coverage simply by how wet or glossy the floor appears. Follow the manufacturer’s specified application rate and thickness, then inspect the finished layer for pinholes, bare areas, cracks, or visibly thin sections.
Applying more material is not necessarily better. Waterproofing products are designed to perform within specified application ranges, and excessive thickness can create curing or adhesion problems.
Curing and Checking Before Tiling
A common mistake during a rushed bathroom renovation is covering the waterproofing as soon as it appears dry.
The required curing period varies depending on the waterproofing system, substrate, temperature, humidity, and site conditions. The manufacturer’s technical documentation should therefore take priority over a generic waiting period.
Where the selected waterproofing system requires or permits a ponding or water test, it should be conducted before the waterproofing is covered with tile-setting materials. The test should follow the procedure specified for the particular system.
Before proceeding, inspect the entire floor. The concrete should be sound and properly repaired, while cracks and joints should have been treated. Drains, pipe penetrations, corners, and floor-to-wall transitions should have the required detailing. The waterproofing should have continuous coverage without obvious pinholes, bare areas, or damaged sections.
The required curing period and any specified testing should also be completed before the waterproofing is covered.
Finally, confirm that the waterproofing system is compatible with the planned tile adhesive and finishing system. The waterproofing layer is only one component of the finished bathroom assembly, so the materials installed above and below it need to work together.
When a Floor Leak Is More Than a Waterproofing Problem
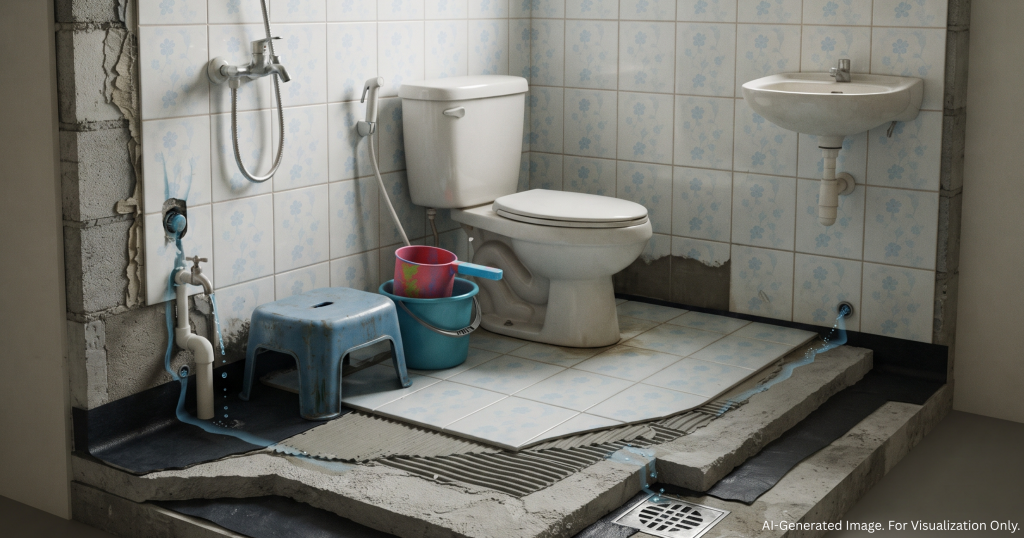
Not every bathroom leak is caused by a failed waterproofing layer.
Water may also originate from leaking supply lines, drain connections, plumbing fixtures, wall penetrations, or other parts of the building. The National Building Code of the Philippines requires adequate plumbing installations and wastewater disposal systems, while plumbing installations are governed by the National Plumbing Code of the Philippines (Presidential Decree No. 1096, 1977).
If water continues appearing below the bathroom after the floor has been properly waterproofed, adding another coating may not solve the problem. The source may be a plumbing connection, drainage issue, wall waterproofing failure, or movement-related cracking.
Likewise, significant structural cracks, extensive concrete deterioration, or cracks that repeatedly reopen should be evaluated by a qualified professional.
Find the source before adding another layer.
Knowing when a project has moved beyond a straightforward DIY renovation is just as important as knowing how to apply the waterproofing itself.
Conclusion
Pre-tile waterproofing is one of those renovation steps that may never be visible once the bathroom is finished, but it can have a major effect on how well the space performs over time.
A properly prepared substrate, carefully treated cracks and penetrations, and a compatible waterproofing system can significantly reduce the risk of water reaching the concrete and the ceiling below. It cannot guarantee that a bathroom will never leak, plumbing, structural movement, drainage, and other building components can still fail, but it addresses one of the major pathways for water intrusion.
For DIY builders, the lesson is simple: don’t let the tiles be the first line of defense. Build the waterproofing underneath them first.
References
Board of Master Plumbers. (1999). Revised National Plumbing Code of the Philippines. Professional Regulation Commission.
Holcim Philippines, Inc. (2015, October 2). Waterproofing essential to home maintenance in tropical PH. Holcim Philippines.
Presidential Decree No. 1096. (1977). National Building Code of the Philippines. Supreme Court E-Library.




 Facebook
 Instagram
 Linkedin
 Twitter
 Youtube
