As we constantly think of other ways to improve our homes, especially this pandemic that we mostly spend our time at home, you probably thought of having an outdoor living room or a space outside that you may spend time with. An easy way to create an outdoor area where you can relax is to have a patio!
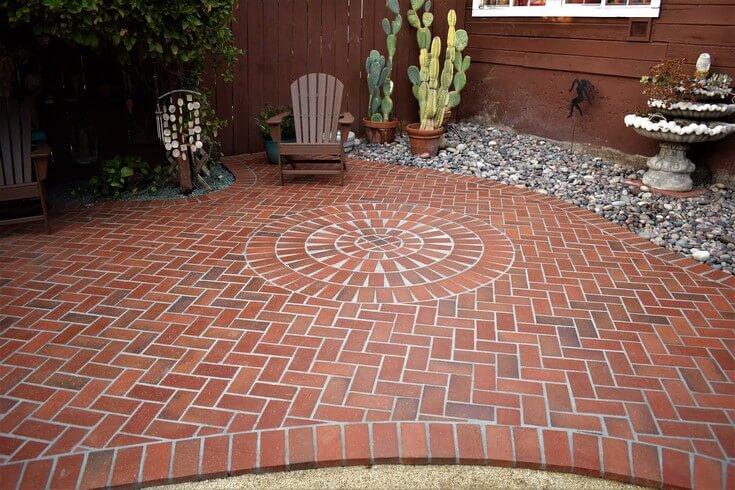
Photo Courtesy: Pacific Dreamscapes of San Diego
What is Patio?
A patio is a paved outdoor area adjoining a house. They typically do not have roofs unlike porches. It can be used as an outdoor living room with some comfy couches and chairs. You can also use pavers, brick, stone or concrete to create one.
It can also be a place to relax or a place to host a small family gathering. Fortunately, there are easy DIY steps to create your own patio within a day! Just design it according to your taste and vibes and bring your backyard dreams to reality!
DIY Patio Mission!
Bet you’ve got lots of patio landscape designs in mind, but when choosing materials for your DIY patio project, save yourself some work and choose a pattern that doesn’t require cutting the patio material. What typically works best and is ideal for a DIY patio are bricks or concrete pavers since they are durable and weather-resilient, meaning, they are low-maintenance.
Follow these steps to build your own paver patio!
Step 1: Clear and prepare the patio area.
Preparing the area consumes the most of your time for making this DIY patio, so patience is a virtue.
Choose an area for your patio and remove any shrubs and roots near your work site. You’ll probably add 4 inches of gravel and 1 inch of sand, plus the depth of the pavers, so dig up about 6 inches of soil to make room for those.
Once you’ve dug down to your desired depth for the whole area, rake and tamp the soil to flatten the area and create a firm bed.
Step 2: Lay landscape fabric over the bed.
To control weeds around your paver patio, add a layer of landscaping fabric on top of the area. The porous material still allows the water to flow but blocks weeds from sprouting.
Apart from preventing the weed, this will also give your gravel a good, solid base to sit on.

Photo Courtesy: bob vila
Step 3: Time to lay a gravel foundation.
You may now layer gravel to create a foundation for your paver patio.
First, dump around a 2-inch layer of crushed gravel on top of the landscape fabric. Smoothen the layer using an iron rake. To ensure that pavers settle evenly, tamp the crushed gravel until the base is extremely firm.
Once firm, you may now add another 2 inches of gravel to reach your 4-inch depth. Smooth it out and tamp it down again.
Ensure that your paver patio will be level. To do this, you can lay a level and a PVC pipe across the bed of gravel to check how leveled the surface is.
Step 4: Add sand for support.
It’s time to add around an inch to 2 inches of sand over the gravel to support the paver patio. Spread the sand evenly using a shovel and rake then smoothen it by laying a long, straight board along the base of the surface.
Note: Make sure to use sand that is specifically for stone paver patios.
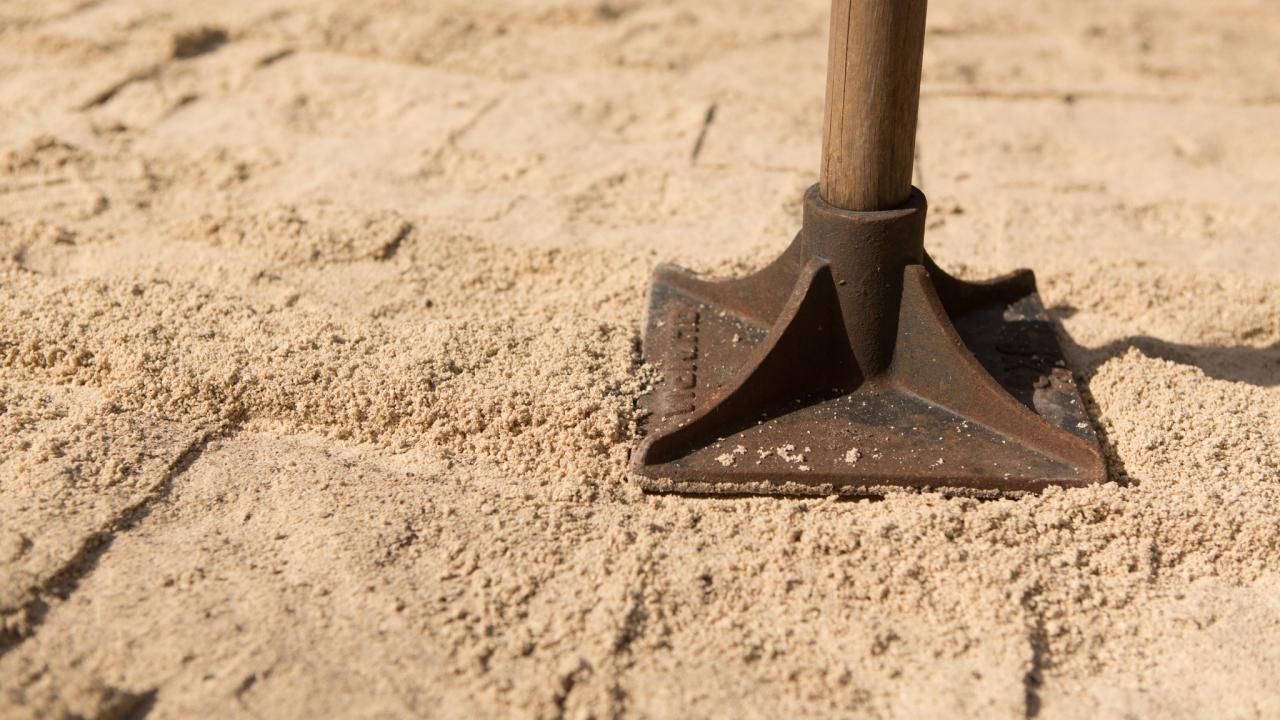
Photo Courtesy: HGTV
Step 5: Prep and lay the pavers!
It’s finally time to lay the pavers in your stone paver patio!
To upgrade and have a little twist on the look of your paver patio design, you can consider mixing and matching different sizes of pavers.
Lay the first line of pavers. Use the edge of your house or walkway as a guide for straight lines. Position your pavers no more than ⅛ inch apart. To make sure the pavers fit snugly against its neighbors, use a rubber mallet to tap them into place. Just continue placing pavers until the patio space is filled entirely.
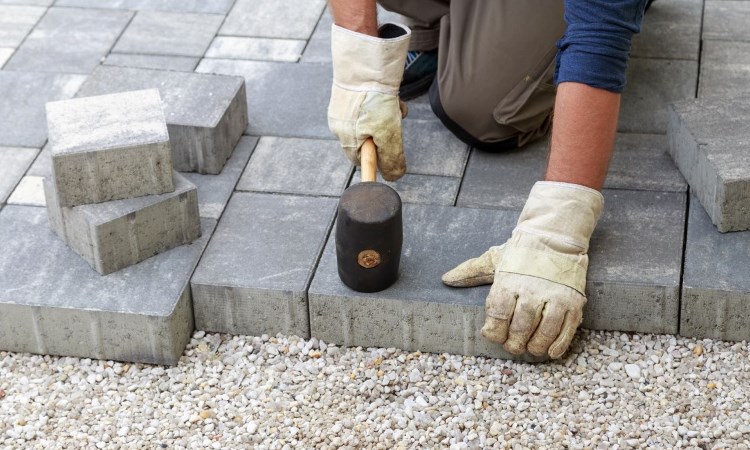
Photo Courtesy: Gilbert Paver Co
Step 6: Final Touches!
Once you’ve placed all the pavers, it’s now time for the final touches. Spread a shallow layer of sand over the patio area and fill in any gaps between the pavers. Use a push broom to work it out, then hose down the area, and your patio is finished!
CITATIONS:
- Provencher, F. T. (n.d.). How to Build a Patio: a DIY Stone Paver Patio Tutorial. Instructables. Retrieved September 11, 2021, from https://www.instructables.com/How-to-Build-a-Patio-a-DIY-Stone-Paver-Patio-Tutor/
- Rodriguez, K. (2020, March 2). What’s the Difference Between a Lanai, a Patio, a Porch, and a Veranda? Patio Productions. https://www.patioproductions.com/blog/features/what-is-lanai-patio-porch-veranda/
- Bennett, J. (2020, April 20). Build a DIY Paver Patio in Just One Day with These Easy Steps. Better Homes and Gardens. https://www.bhg.com/home-improvement/patio/installation-how-to/diy-paver-patio/?slide=slide_5f9e918f-0cec-4478-a289-560223d95461#slide_5f9e918f-0cec-4478-a289-560223d95461
- Hughes, M. M. (2021, June 16). Upgrade Your Backyard with an Easy DIY Patio. Better Homes and Gardens. https://www.bhg.com/home-improvement/patio/installation-how-to/6-steps-patio/
![]()


 Facebook
 Instagram
 Linkedin
 Twitter
 Youtube